Tutorials
Mar 15, 2019.Getting Started with Jetson Nano
In this tutorial, you will learn how to set up the NVIDIA® Jetson™ Nano and install everything you need to use the full power of the tiny embedded board.
In this tutorial, you will learn how to set up the NVIDIA® Jetson™ Nano and install everything you need to use the full power of the tiny embedded board.
* You can use a Windows host PC to flash the microSD card instead, however this tutorial uses Ubuntu as it’s a simpler process. See NVIDIA’s guide for a Windows option.
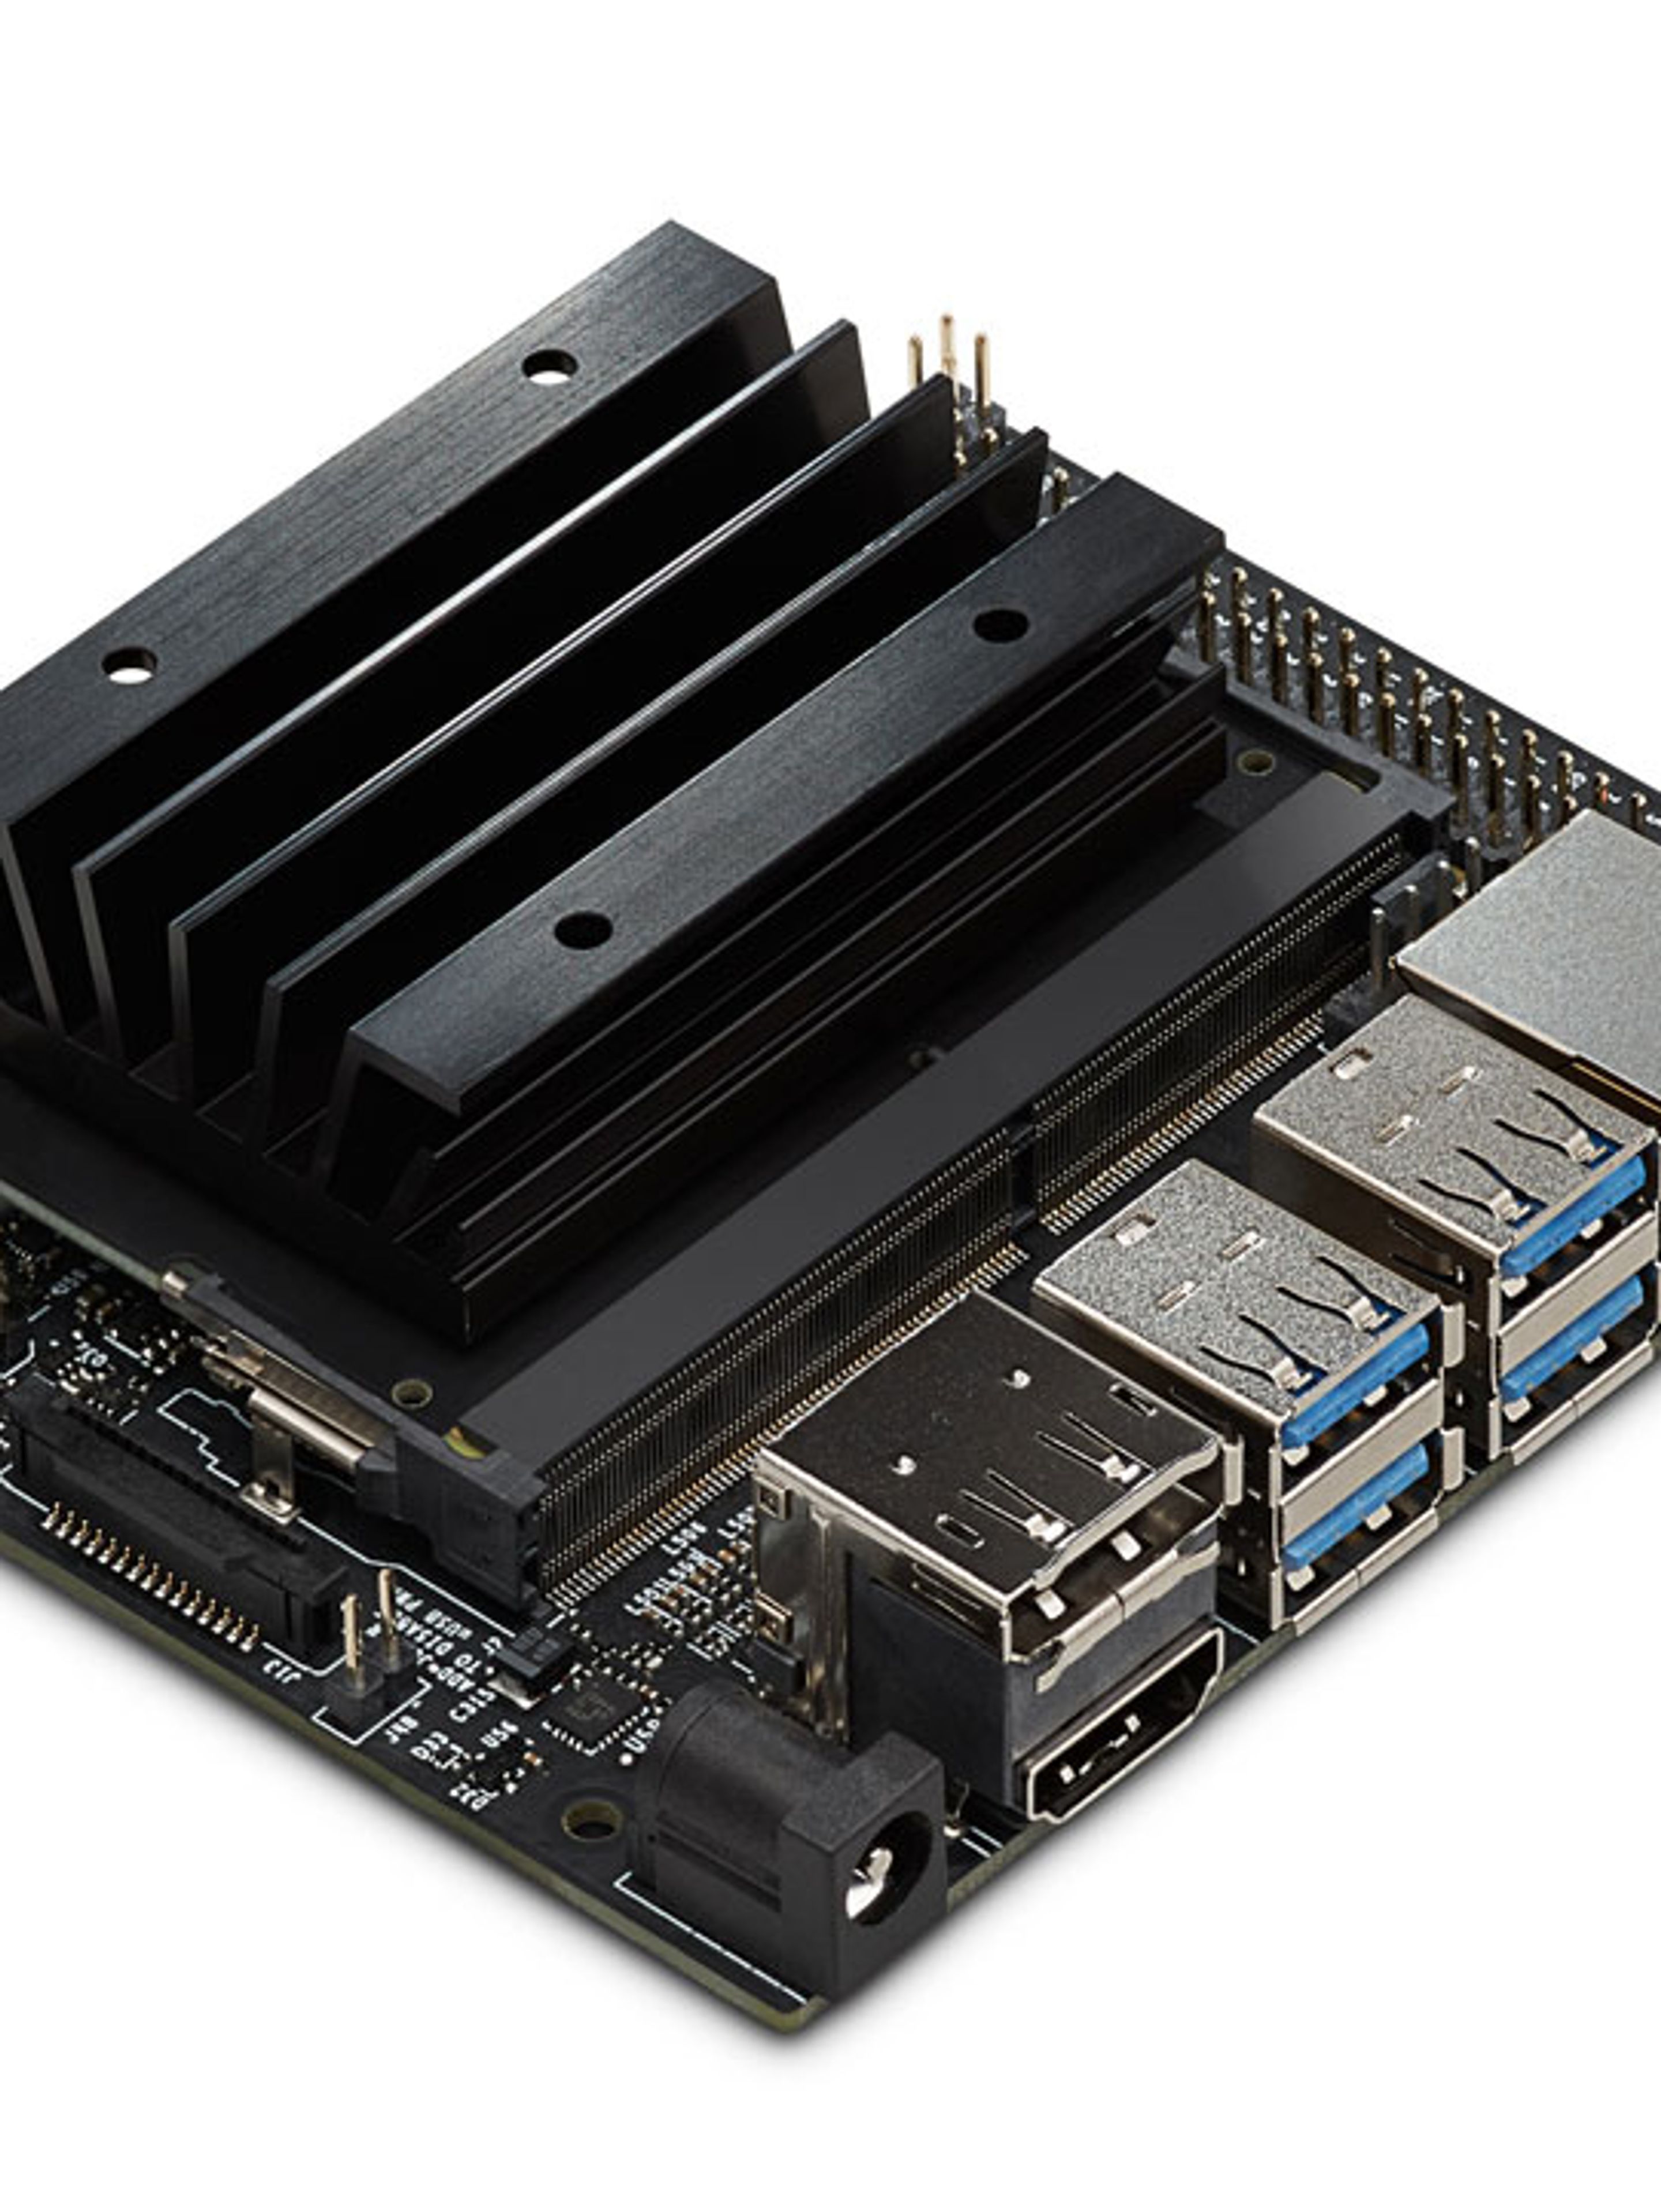
Unlike previous Jetson products, the Jetson Nano uses a removable microSD card as its boot device and storage. Therefore, the Nano is no longer limited to the 16GB/32Gb storage that the integrated eMMC of past models used.
Since the OS will run on the microSD card, your choice of card is important. Choose a high-level class, such as Class 10, to have a decent writing/reading speed.

Make sure the PC you are going to use can read and write to the microSD card.
$ sudo fdisk -l
The SD card should be listed under /dev/sdc or /dev/sdd. It’s important to make sure that the drive you are targeting is the correct one, otherwise you may erase or write to another device. To make sure it’s the correct one, unplug the card and see if it disappears from the list.
Linux provides a great tool for flashing the image on the microSD card, so we’ll use it as opposed to a third-party utility like Etcher.
If you followed the steps in the last section properly, you should have a file called “sd-blob-b01.img” in your folder.
We’ll flash the image using the DD tool. Open a terminal on the folder where the image file is located and type the command below. Replace diskN with the name of the SD drive (/dev/sdd, /dev/sdx, etc.), and make sure the image file name (jetson-nano-sd-card-image-r32.3.1) matches the image version you’re installing.
$ sudo dd if=jetson-nano-sd-r32.3.1 of=/dev/diskN bs=1M oflag=direct status=progress
Wait for the process to finish. The tool must write roughly 8GB to theSD card, so it can take several minutes.
Once finished, make sure to eject the drive properly and unplug the SD card only when it says you can. Otherwise, you may corrupt the image and you won’t be able to boot.

After the Jetson Nano boots up for the first time, it will start system configuration as a common Ubuntu installation.
After rebooting, you’ll see a typical Ubuntu desktop with the NVIDIA logo.


Your Jetson Nano will need an Internet connection to install the ZED SDK as it downloads a number of dependencies. You can use an Ethernet cable or attach a USB Wi-Fi adapter.
Download the ZED SDK for Jetson Nano and install it by running this command and following the instructions that appear:
$ chmod +x ZED_SDK* $ ./ZED_SDK_Tegra_JP43_v3.1.2.run
If you are using at DC power supply (not microSD power) and want to have access to the full power of the Jetson Nano, you can enable the Max performance model:
$ sudo nvpmodel -m 0
This will improve the performance of your application by using additional power.
ZED SDK installer won’t download dependencies: This happens if you don’t have an internet connection when running the installer. Verify that you do. If you know that you have a working internet connection, make sure that your system time is set correctly, as an incorrect date can prevent SSL connections.
Jetson Nano shuts off immediately after logging in: Your device may be severely underpowered. This can happen if using a microUSB power source rated much lower than 5V 2A as required.
Jetson Nano shuts off as soon as my app opens the ZED camera: This is also related to power. You may be using a microUSB power source that claims to be rated at 5V 2A but in fact does not supply that much power. A DC power jack is best, but if you prefer microUSB, NVIDIA recommends using this PSU/cable combo.
In a pinch, you can also use this command to enter low performance mode:
$ sudo nvpmodel -m 1