Note: This is for ZED SDK 1.2 only. Please see the latest Unity guide here.
Positional tracking is what makes the HTC Vive and Oculus Rift so immersive. By using the ZED as an add-on camera to a VR headset, desktop and mobile HMDs such as Gear VR can now track your position in space and offer great experiences with full freedom of movement.
In this tutorial you will learn how to track the movement of the ZED in Unity so that an identical virtual camera move can be reproduced in the game engine.
The ZED package for Unity includes assets, scripts, and a sample scene to assist with development. The ZED package contains the following subdirectories:
| Contains the main Unity prefab that is used to replace the regular Unity Camera within a scene: ZEDCamera. |
| Contains a sample scene illustrating the use of ZED motion tracking in Unity: ZEDTrackingScene. |
| Contains C# files that are used to interface the ZED and Unity components. The scripts are used by the Prefab. |
| Contains sl_unitywrapper.dll, which enables C# scripts to communicate with the ZED SDK. |
The package to use the ZED with Unity is available for download here.
To get started with virtual reality development in Unity, see Unity VR and Oculus documentation.
- Run Unity.
- Select File > New.
- Choose a Project name and a path.
- Make sure 3D is selected and then click Create project.
To import the ZED package in Unity, you have to go in Assets → Import package → Custom package.
After selecting the ZEDCamera.unitypackage, make sure all the boxes are checked and then click Import.
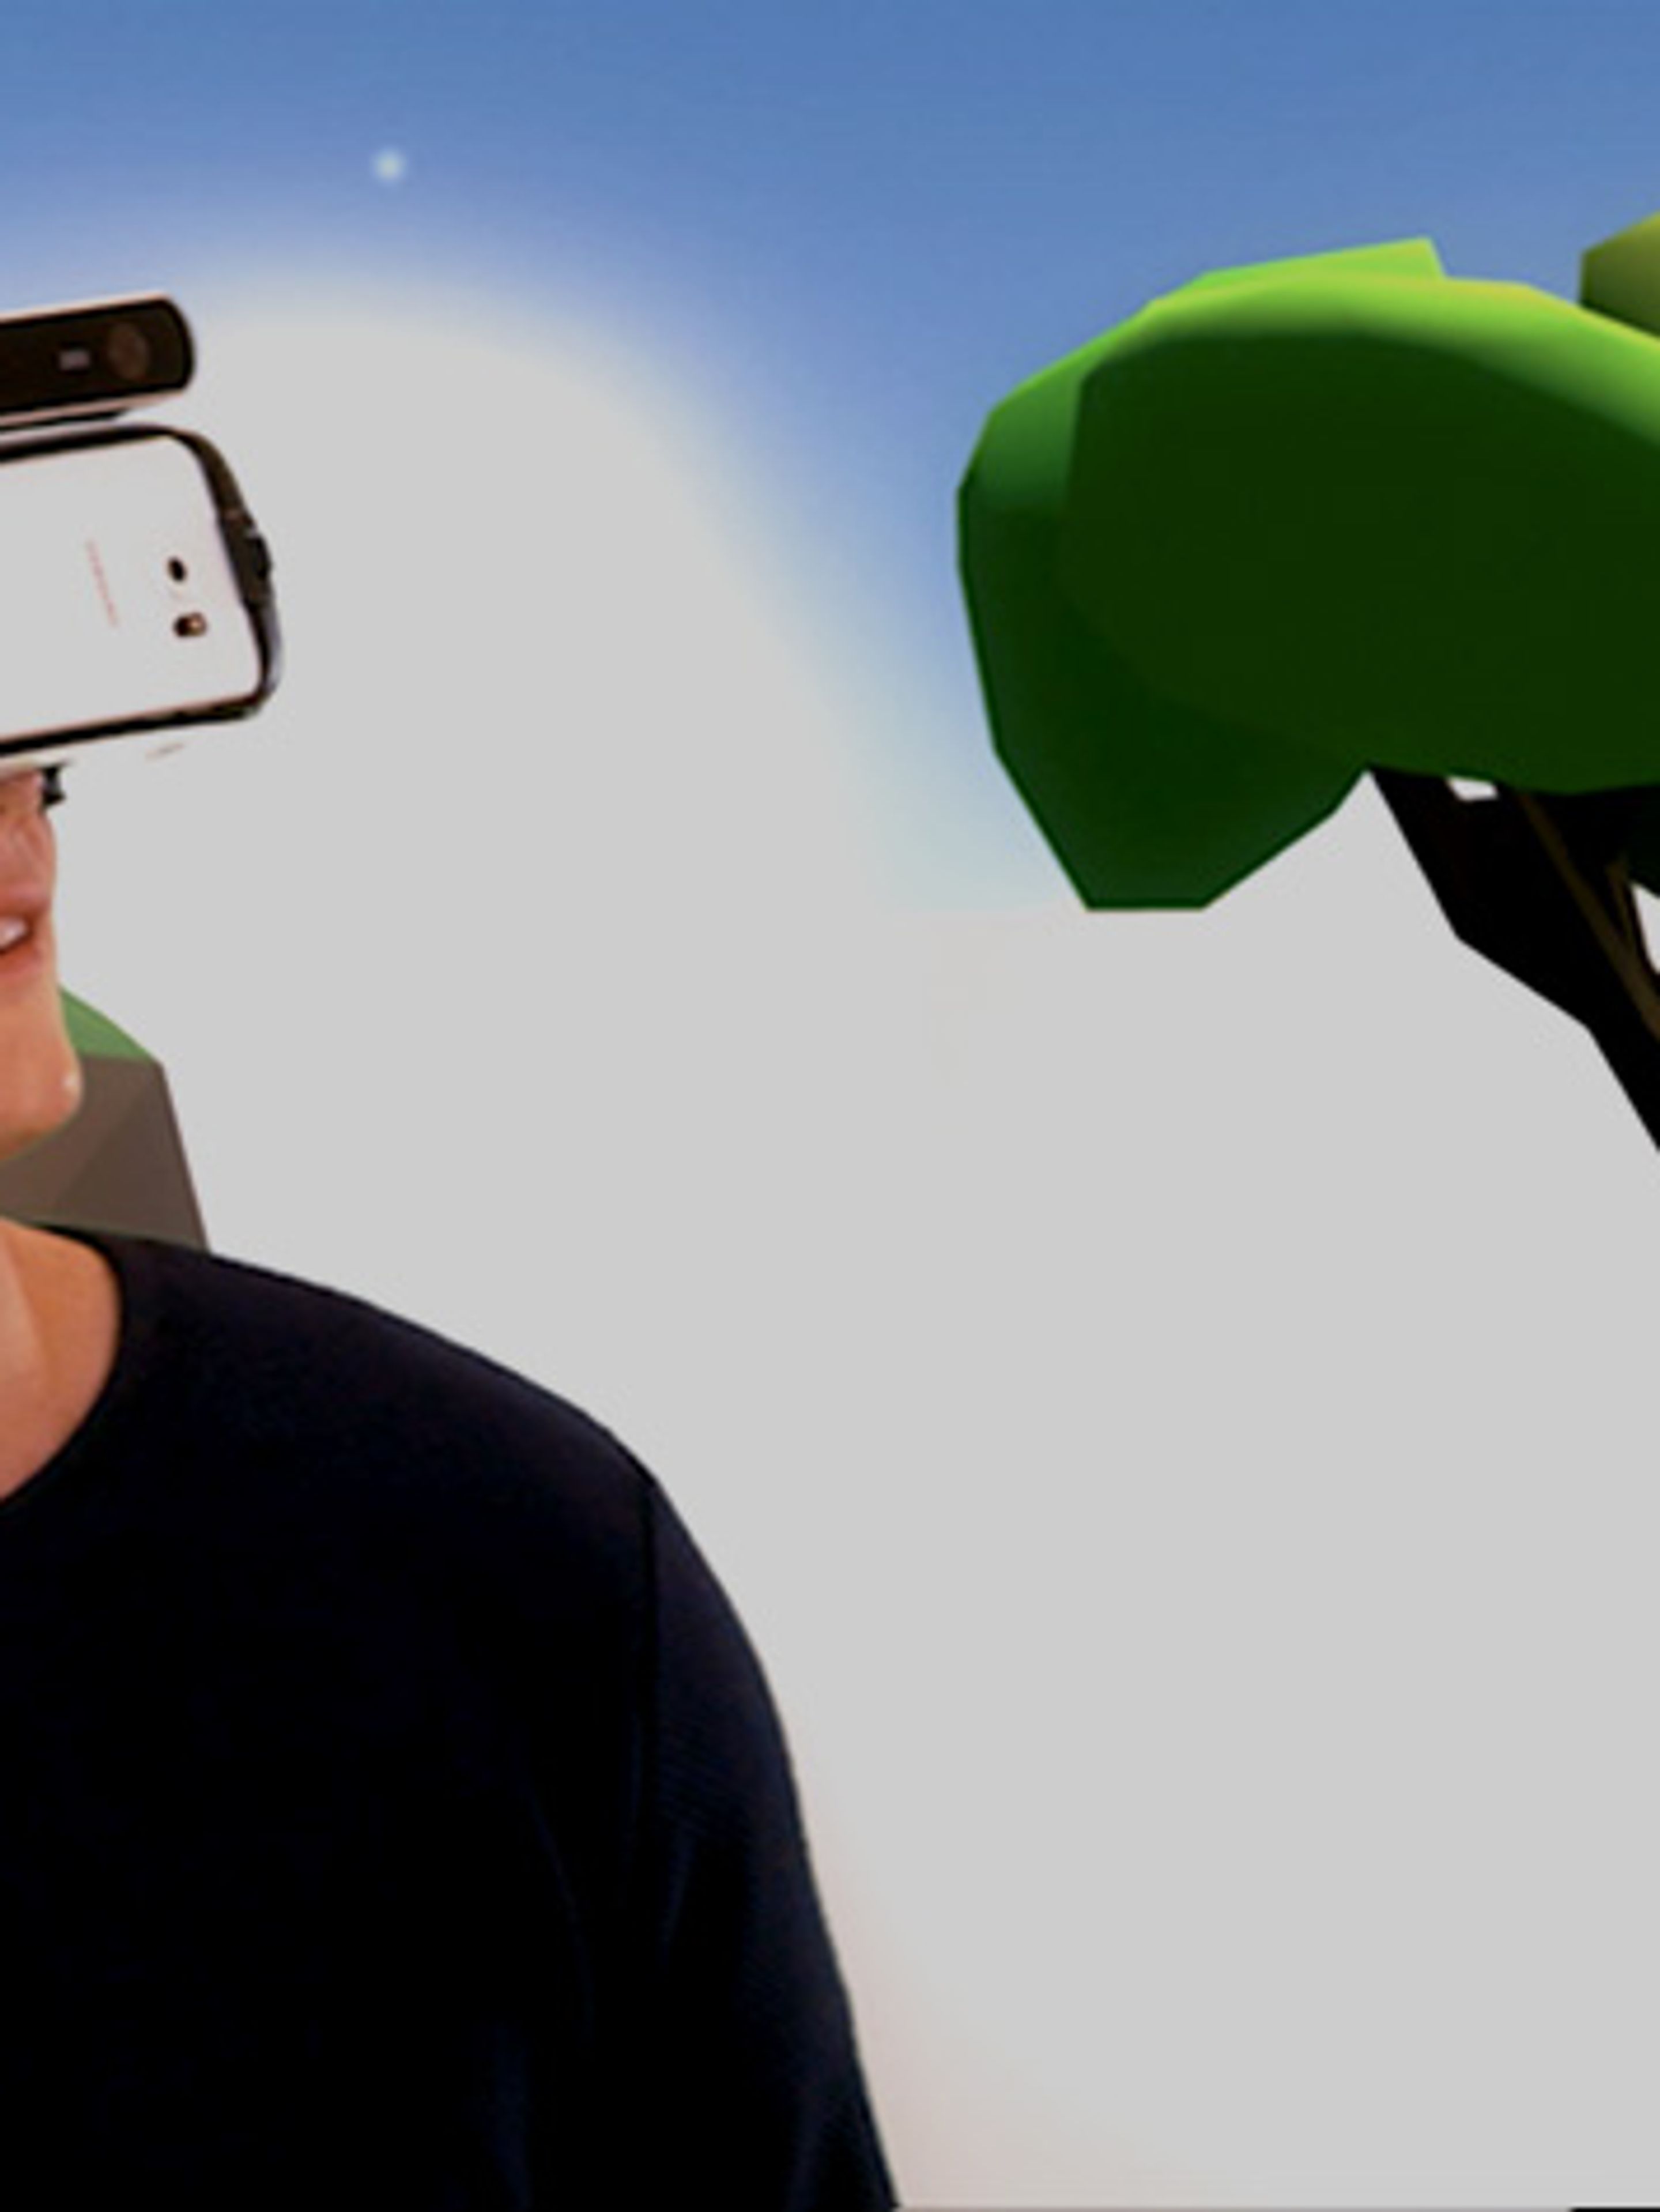
You can now launch the ZEDTrackingScene sample. Make sure your ZED is connected, and that its line of sight is not obstructed. Run the demo scene, move your ZED around and watch the virtual camera reproduce the same movement in Unity.
The ZEDCamera prefab is the easiest way to add positional tracking in a virtual environment. To use, simply drag and drop the prefab into your scene.
By adding the ZEDCamera as a father of Unity main camera, you will have direct control of the virtual camera pose by head tracking. The starting position will be located at (0,0,0) in World space.
To change the starting position of the virtual camera, you need to add the ZEDCamera as a child of a parent GameObject. Camera movement will be relative to the reference GameObject absolute coordinates system.
Let’s add a few cubes to our scene. The virtual camera in Unity will now reproduce the same movement as the ZED.
You can also move any object in the scene using ZEDCamera. Fix the position of the virtual camera, and drag a cube object as a child of ZEDCamera. Begin moving around the ZED, and see how the cube reproduces your hand or head movements.
For advanced Unity users, this section explains how to interface Unity with the ZED tracker in C#. Example code is included in ZEDCamera.cs.
Firstly you need to initialize the camera.
  // To get an instance of the camera
  ZED = ZEDTracker.GetInstance();

  // Create the camera
  ZED.CreateCamera();
When you initialize the ZED, you can choose which metric will be used.
  // Initialize the ZED and return an error if a problem occurs
  ZEDTracker.ERRCODE e =  ZED.init (ZEDTracker.MODE.PERFORMANCE, ZEDTracker.UNIT.METER);
  if (e != ZEDTracker.ERRCODE.SUCCESS) {
    throw new ZEDException("Initialization failed " + e.ToString());
}To use the tracker you need to initialize it with a matrix. By default a 4×4 identity matrix is used.
  // Create an identity matrix 4x4
  path = IdentityMatrix();
  // Enable tracking with the identity matrix
  // The tracking will relocalize itself if lost
  bool tracking = ZED.EnableTracking(path, true);
  if (!tracking) throw new ZEDException("Error, tracking not available");
After initializing the tracking, you need to grab the image in the Update() method.
With ZED.Grab(), you can retrieve a position at any given time using ZED.GetPosition(pos, ZEDTracker.MAT_TRACKING_TYPE.PATH).
It will fill an Rt (rotation and translation) array with the position and orientation of the camera in space.
  // Get the position of the camera as a path
  ZED.GetPosition(path, ZEDTracker.MAT_TRACKING_TYPE.PATH);
  // Fill the Rt array
  for (int i = 0; i < 4; ++i) {
      for (int j = 0; j < 4; ++j) {
          Rt[i, j] = path[i * 4 + j];
      }
  }
The Rt transformation matrix represents both the rotation and translation of the ZED.
If you use ZEDTracker.MAT_TRACKING_TYPE.POSE, the orientation and translation values will be the given as a displacement from the previous position, also called “pose”.
  // Get the translation
  Vector4 t_ = Rt.GetColumn(3);
  Vector3 translation = new Vector3(t_.x, t_.y, t_.z);

  // Get the rotation as a Unity compatible quaternion
  Quaternion rotation = ZEDTracker.QuaternionFromMatrix(Rt);