News
Jun 4, 2019.How to Detect Markers with OpenCV and ZED in Unity
In this guide, we’ll add ArUco marker detection to a ZED first-person AR experience, letting you anchor virtual objects to real-world images.
In this guide, we’ll add ArUco marker detection to a ZED first-person AR experience, letting you anchor virtual objects to real-world images.
Tons of people have asked us how to add marker detection to our Unity plugin. It’s the most robust way to anchor virtual objects to the real world, short of sticking Vive Trackers to everything. They’re useful for everything from positioning objects when a scene starts to syncing multiple ZED positions for multi-user experiences.
We’ve added code and examples to our Unity plugin to perform simple marker detection via OpenCV, an open-source library for computer vision. It’s built to work out of the box, but you can easily add your own logic that runs when a marker is detected. You can also repurpose the whole package for other OpenCV functions unrelated to marker detection.
In this tutorial, we’ll set up a basic scene that places virtual objects on printed ArUco markers. Then we’ll give a quick overview on how to customize the package for your own needs.
Required:
* You can use the free trial of OpenCV for Unity within the Unity editor, but you will not be able to build a standalone application without buying the asset.
† While Vuforia is a more popular solution for marker detection in Unity, it needs to access the camera stream directly, blocking the ZED SDK from opening the camera at the same time.
Start by creating a new Unity project and importing the ZED plugin and the OpenCV for Unity wrapper.

Now we’ll set up our scene:


Your scene’s Hierarchy should look like this:

We’ll use an ArUco marker from the “4×4” dictionary from OpenCV’s ArUco module.
This ‘dictionary’ is a collection of images made up of black and white tiles, specifically designed to be recognizable and non-symmetrical. ArUco itself comes with pre-defined dictionaries, so you don’t have to make your own.
The markerID value of any MarkerObject script refers to the index (technically the ‘key’) that we’re looking for in the dictionary we set in ZEDArUcoDetectionManager. So if we set a MarkerObject’s markerID to 0, it tells the plugin that we’re looking for the below image:

We’ve included the first five images of that dictionary in the Aruco Marker Images folder, but you can view/download all of them here. We’ll just use that first image for now.
It’s best to print out markers onto non-glossy paper. From there, you can cut them out, leaving white borders around the image. These borders will prevent the marker’s edges from blending in with dark objects. Optionally, you can also tape/glue the markers to something rigid, like cardboard, to hold the paper flat.

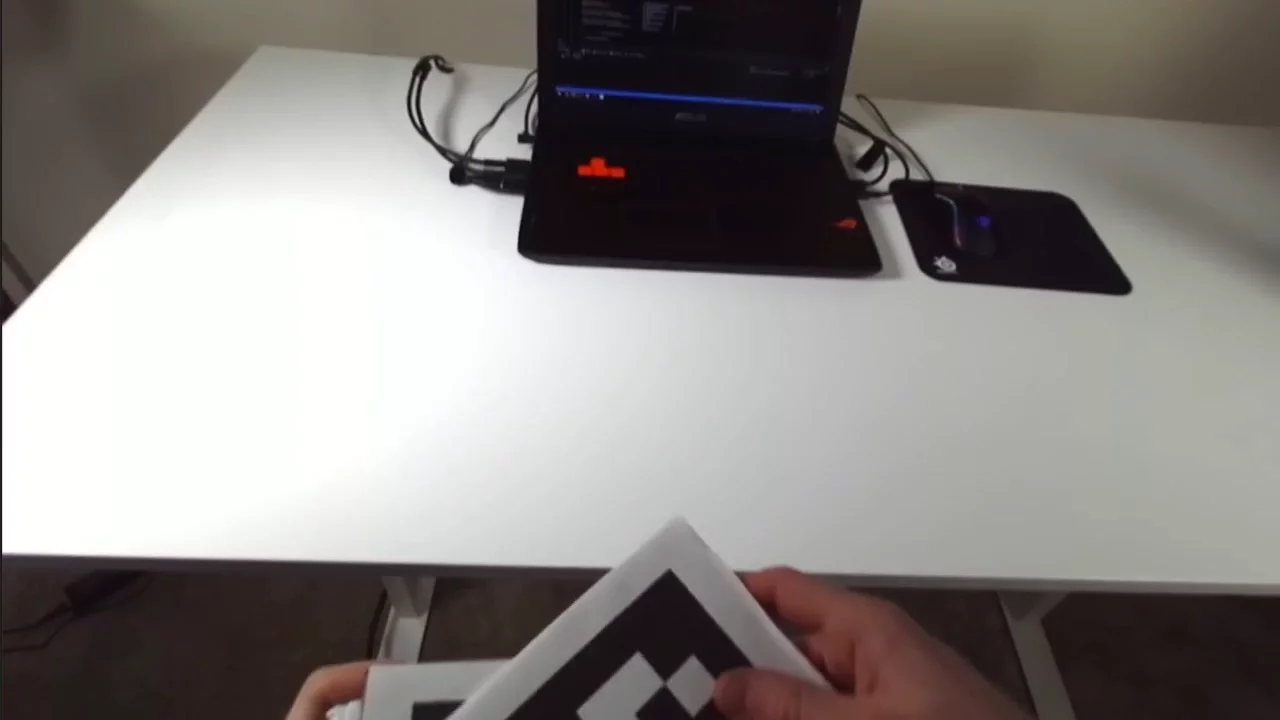
If you don’t have access to a printer, you can display the markers on a screen like a cell phone. If you do, make sure the brightness is turned up all the way and avoid resizing the image during development.
Once you have your marker, you’ll need to know its width/height. This is so that when OpenCV sees a marker, it can calculate how close it is from the space between its corners on the 2D image. If you plan to use multiple markers at the same time, they should all be the same size.
Get a ruler with centimeters on it, and measure the width of the marker.

This marker is 10 centimeters wide, or 0.1 meters.
Back in Unity, select ArUco Detection Manager. Put the value you measured into the Marker Width Meters field converted to meters (ex. 6cm = 0.06m).

You can ignore the other fields for now. ImageRetriever is a reference to the scene’s ZEDToOpenCVRetriever script, but it’ll find the instance automatically if it’s null at start. MarkerDictionary is what you’d change if you wanted to use a different dictionary, but as stated, we’re using the default 4×4 one for now.
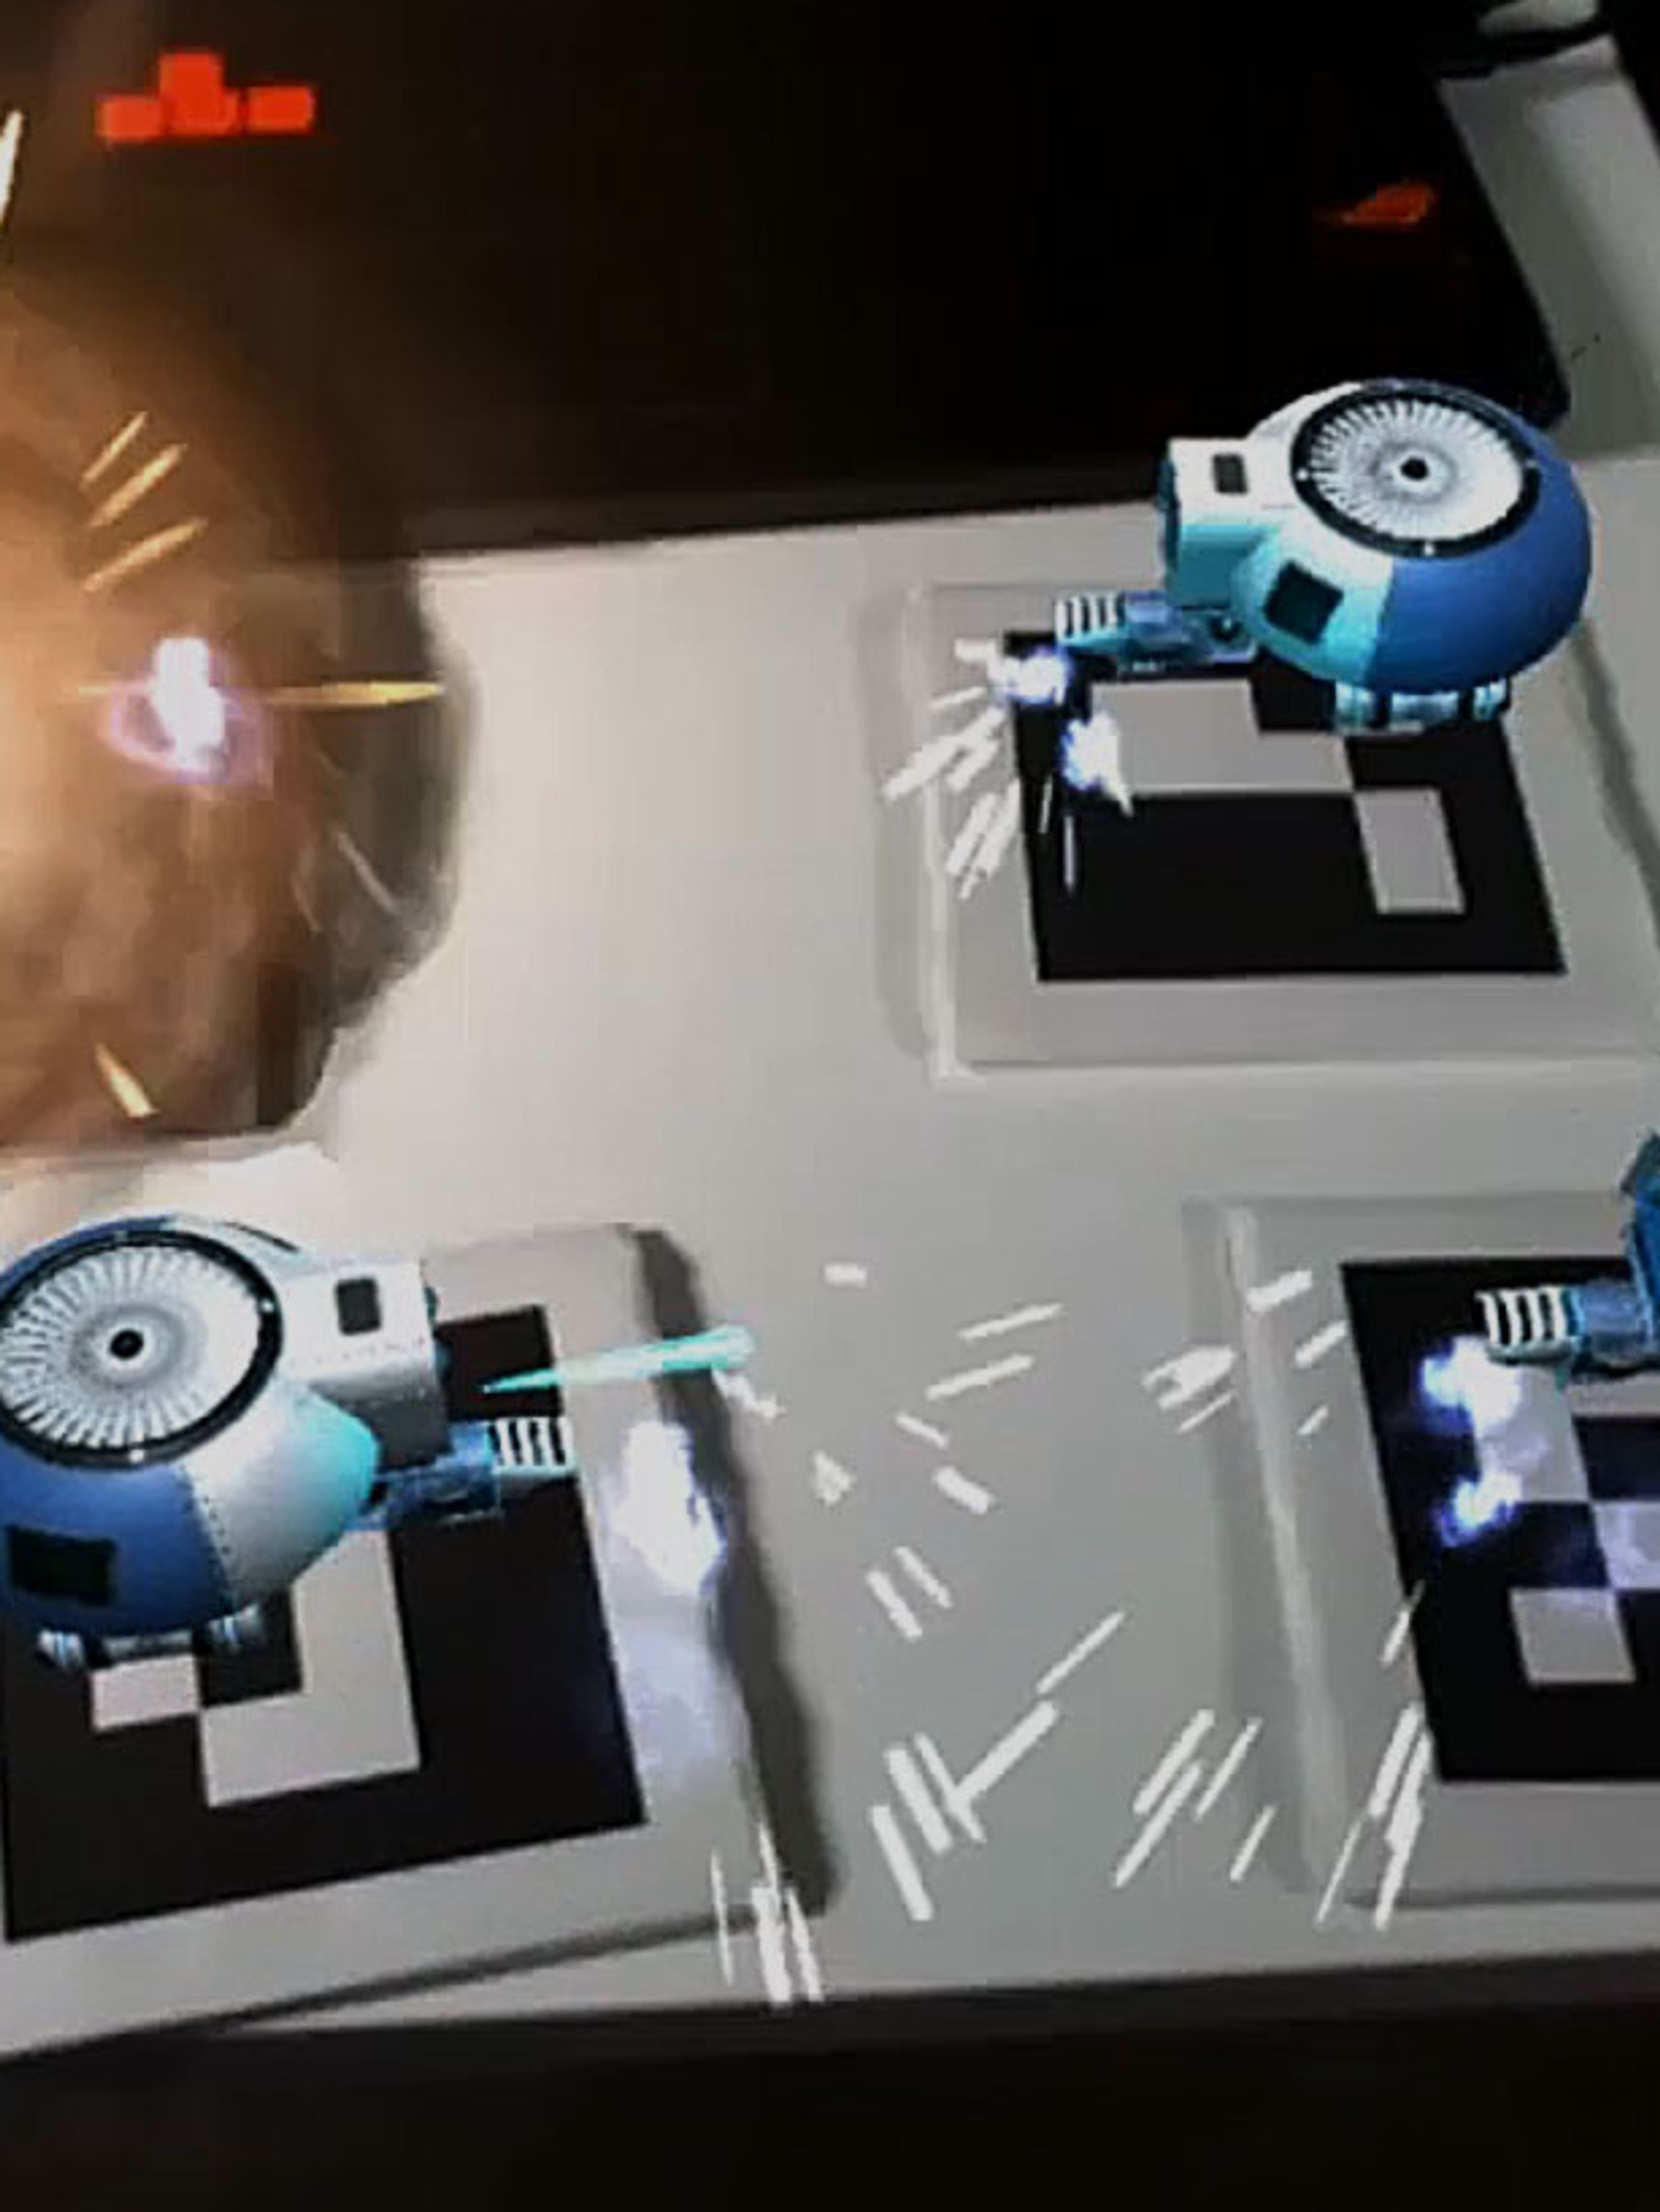
With your ZED plugged in, start the scene and point your camera at your ArUco marker. The drone will appear over the marker whenever it’s visible.
Here’s what happens in the scene you just created:
As always, contact us if you have problems with this tutorial. Same goes if you make something cool – we’d love to hear about it!
