Using OpenCV in Unity
In this tutorial, you’ll learn how to detect visual markers and place virtual objects on top of them using OpenCV, Unity and the ZED.
Setting Up your Markers
Our app will be looking for “ArUco” style markers. OpenCV natively includes a collection of these markers, and scripts from the ZED Unity plugin already tell OpenCV which markers to look for. All you need to do is get some real-world markers to look at.
You’ll find five example markers that OpenCV looks for in the ZED -> Examples -> OpenCV ArUco Detection -> ArUco Marker Images folder. We’ll use aruco_4x4_0.png for this tutorial. You need to display this image somewhere in the real world for your app to see. There are several ways to do this:
- Open the file and leave it open on a second monitor
- Display the marker on your cell phone and turn the brightness all the way up. You can find the marker online at http://chev.me/arucogen/
- Print the marker onto paper
Import OpenCV
The fastest way to use OpenCV within Unity is to use Enox Software’s OpenCV for Unity package on the Asset Store. You can use the free trial version for the tutorial, but you won’t be able to build a standalone app.

Download and import the OpenCV for Unity package. You won’t actually touch these assets during the tutorial - they are required for the marker detection scripts in the ZED Unity plugin to work. These scripts are excluded from compilation when the OpenCV for Unity package isn’t imported.
Create the Scene
- Create a new scene and delete the main camera
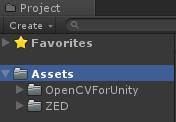
- In the Projects tab, go to ZED -> Prefabs and drag a ZED_Rig_Mono into your scene (use ZED_Rig_Stereo instead if you want to use pass-through AR)
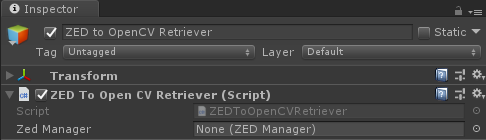
- Create an empty GameObject, rename it “ZED to OpenCV Retriever” and add a ZEDToOpenCVRetriever component to it.
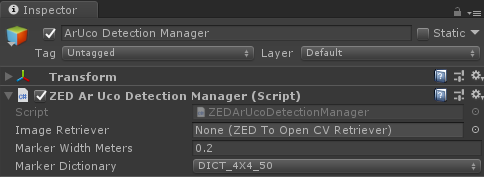
- Create another empty GameObject, name it “ArUco Detection Manager” and add a ZEDArUcoDetectionManager component to it.
- Create a cube object and add a MarkerObject_MoveToMarker component to it.
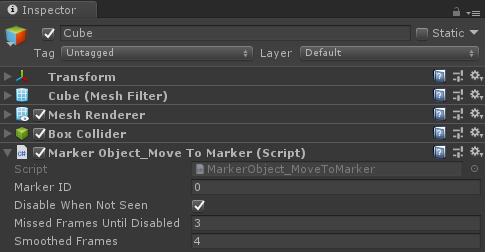
The Marker ID value in MarkerObject_MoveToMarker. It’s 0 by default - this tells it to detect ArUco marker of index 0, which corresponds to the one you are displaying (aruco_4x4_0). If you use a different marker, you will need to change this value.
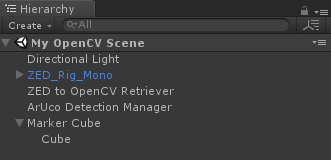
Your scene should look like this:

Measure Your Markers
OpenCV does not use the ZED’s depth features to determine the 3D position of a marker. It compares the known size of the marker to its size in a given image frame. Therefore, we need to tell it how big the marker is for it to calculate the position accurately.
- Get a ruler with centimeters on it and measure the width of the marker.
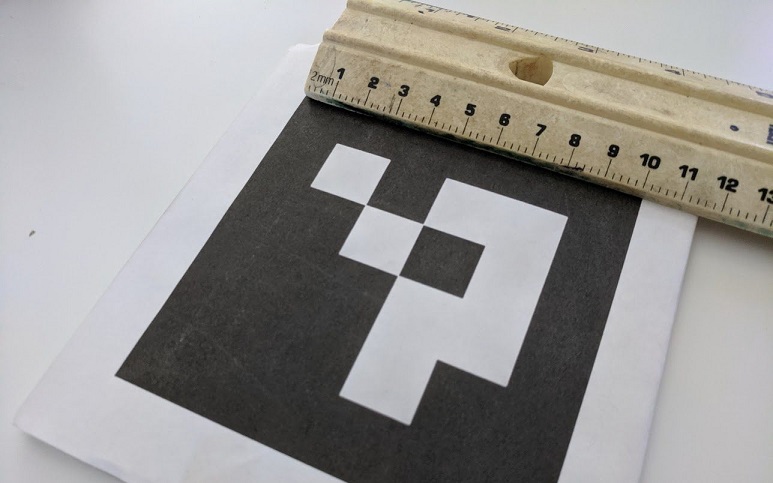
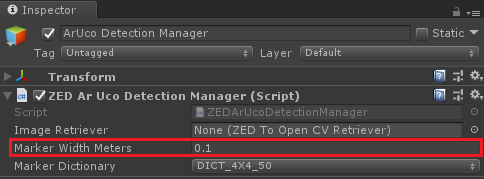
- Select the ArUco Detection Manager object you made earlier.
- In the Marker Width Meters field, put that measurement in meters (1cm = 0.01m)
If displaying the marker on a screen, be careful not to zoom in/out after you measure the marker. This will cause OpenCV to think it’s closer or further from the camera than it really is.
Fine-Tuning Placement
Run the scene and point your ZED at your marker. You’ll see the cube will move to where the marker is. But it doesn’t look good yet.
Let’s make it so the cube rests atop the marker. We’ll need to shrink the cube and also add an offset between the cube and the MarkerObject. For the offset, we’ll have to make the Cube a separate child object of the MarkerObject.
- Delete your Cube object
- Create a new empty GameObject and rename it “Marker Cube”
- Add the MarkerObject_MoveToMarker component to it
- Create a Cube object as a child of Marker Cube
- Set the X, Y and Z values of the Cube’s Scale to match the width value you put in ArUco Detection Manager
- Set the Z value of the Cube’s Position to be one half of that width value

We adjust the Z position because objects are oriented such that the Z axis is pointing outward from the face of the marker.
Run the scene. The cube should now appear to be sitting atop the marker.