Mixed Reality Capture with Unity
In this tutorial, you’ll learn how to enable mixed-reality capture with up to four ZED or ZED Mini cameras on a single computer at the same time.
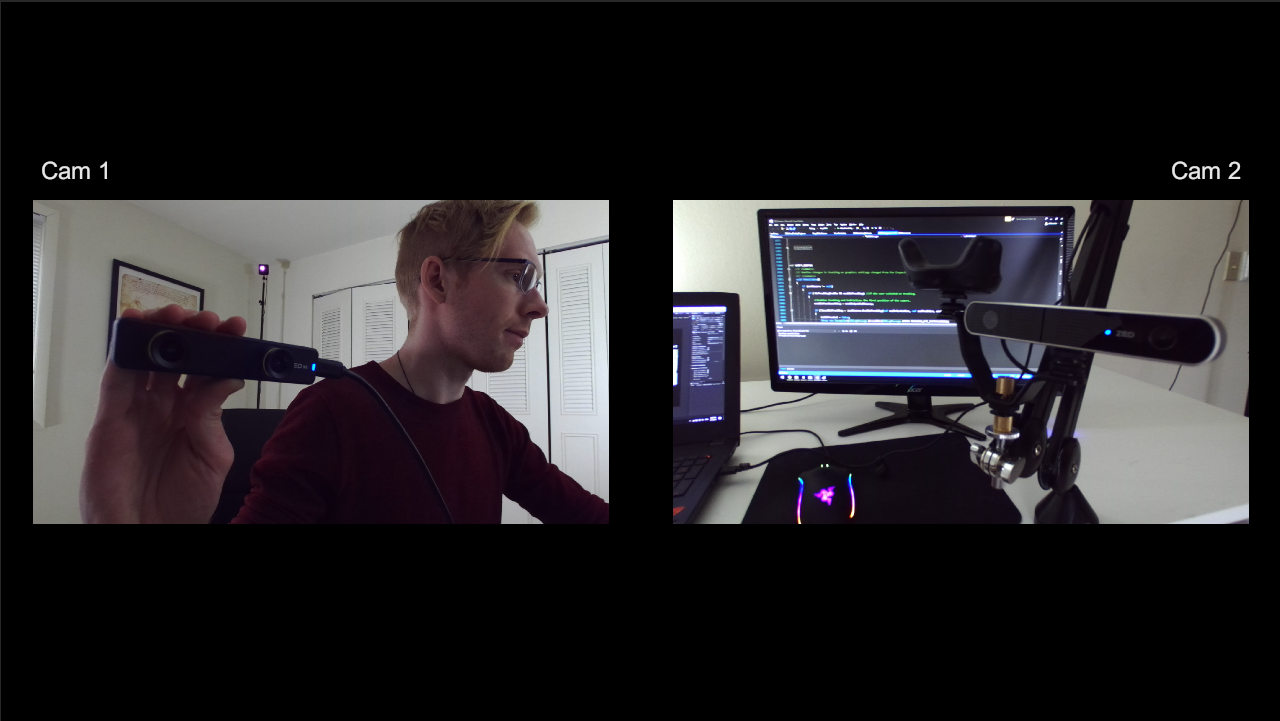
We’ll start with a scene displaying the output of two ZED cameras side by side. Then, we’ll set up a “streamer-style” scene like the .gif above, with AR passthrough showing in most of the image and a 3rd person view in the corner.
What You Need
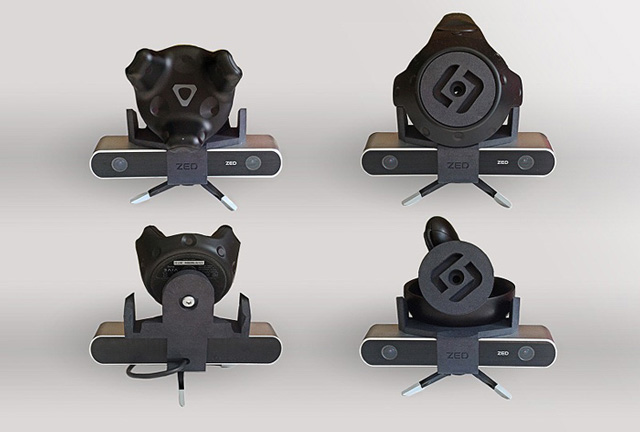
- At least two ZED or ZED Mini cameras
- ZED SDK v2.8 or greater (download)
- ZED Unity Plugin v2.8 or greater (download)
- Optional: VR headset with a ZED Mini mounted to it. (See this article for compatible headsets)
Getting Started
Before you start, make sure your two ZED/ZED Mini cameras are not plugged into adjacent USB slots. Such slots often share an internal USB hub, which lacks the bandwidth for two separate cameras. See this article for additional bandwidth troubleshooting.
We’ll assume you’ve already imported the ZED plugin into Unity as per our earlier tutorials.
- Create and open a new Scene
- Delete *Main Camera in the Hierarchy
- In the Project tab, navigate to ZED -> Prefabs
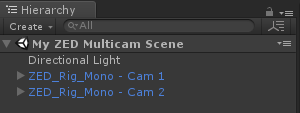
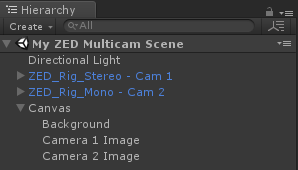
- Click and drag two ZED_Rig_Mono prefabs into your scene
- Rename the prefabs to ZED_Rig_Mono - Cam 1 and ZED_Rig_Mono - Cam 2
- Select the second ZED rig and set its Camera ID value to CAMERA_ID_02
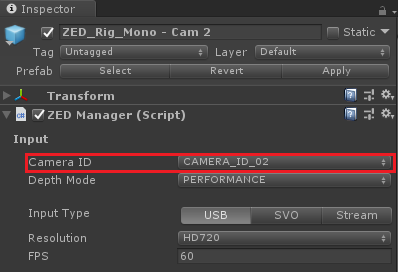
The Camera ID value tells the camera which ZED it should connect to. The number assigned to each ZED is defined by Windows, and the index of its USB connection to your motherboard. That means you’ll likely have to run the app to know which camera corresponds to which number, but once you find out, those numbers should stay the same if you leave the cameras plugged in to the same slots.
It’s important to know that only one ZEDManager can be connected to a ZED at the same time. Therefore, if multiple camera rigs have their Camera ID set to the same value, all but the first one will fail.
Setting Up Your Display
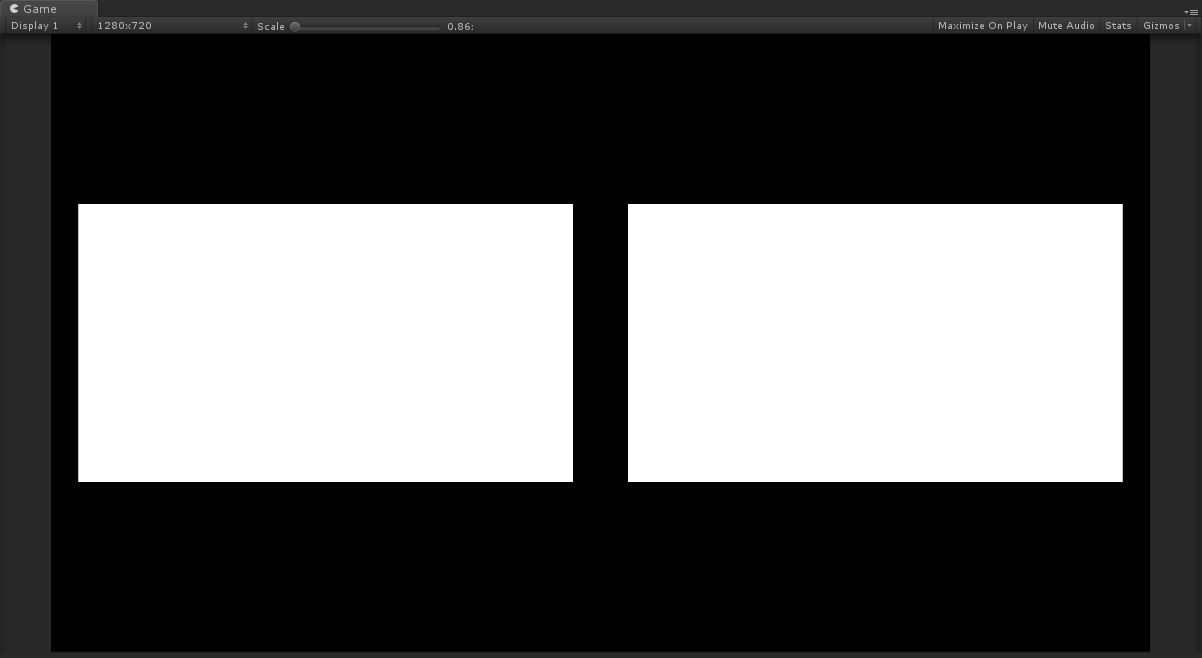
If you run the scene right now, you will only see video from one ZED in the Game view. Both ZEDs would be drawing, but the second one completely covers the first. We’ll set up a UI for handling this using a script included with the plugin.
- Right-click the Hierarchy and add a UI -> Canvas (If it auto-creates an Event System object, you can delete it)
- Right-click the Canvas and add a UI -> Image
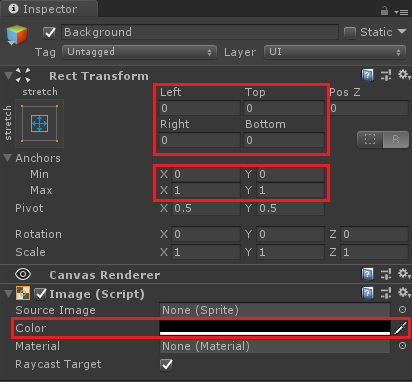
- Click the new image and rename it “Background” In its Inspector, set the Left, Right, Top and Bottom values in its RectTransform to 0
- Under Anchors, set both Min values to 0 and both Max values to 1
- In the Image component, set the color to black
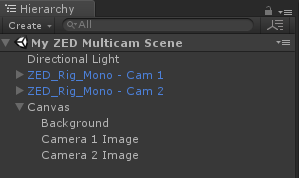
- Right-click the Canvas object and add two UI -> RawImage objects
- Rename the first RawImage to Camera 1 Image and the second to Camera 2 Image
- In both RawImages’ RectTransform, set the Left, Right, Top and Bottom values to 0 in its
- Set Camera 1 Image’s Anchor values to Min X = 0.025, Max X = 0.475, Min Y = 0.275, Max Y = 0.725
- Set Camera 2 Image’s Anchor values to Min X = 0.525, Max X = 0.975, Min Y = 0.275, Max Y = 0.725
You’ve likely guessed that these new white boxes will each show a different ZED’s output. We’ll use a simple script from the included MultiCam sample scene to achieve this.
- Click the triangle besides the two ZED rigs in the Hierarchy to expand them, revealing a Camera_Left object under each
- In the Project tab, navigate to ZED -> Examples -> MultiCam -> Scripts
- Click and drag the CopyToSurface script to each Camera_Left object
- Click on the first Camera_Left object, and you should see this in the Inspector:

Each frame, CopyToSurface copies the output from a Camera sharing its GameObject to a RawImage (for 2D UI) and/or a Renderer (for 3D surfaces, like a Quad) depending on what you specify. We’ll ignore the World Renderer field for now, but it can be useful if a user in 1st person AR passthrough mode wants to see the video from another ZED floating in the real world.
- With ZED_Rig_Mono - Cam 1 still selected, drag and drop the Camera 1 Image Raw Image from the Hierarchy into the Canvas Raw Image field of CopyToSurface
- Do the same with ZED_Rig_Mono - Cam 2 and Camera 2 Image
Run the scene.
If one camera refuses to connect, try changing the USB port. See our bandwidth troubleshooting guide if problems persist.
MultiCam with AR Passthrough
If you’ve followed our AR Passthrough guide, then you know that you need the ZED_Rig_Stereo prefab to see a ZED Mini’s images in a VR headset. We’ll also assume you’ve already done the rest of the necessary steps for setting up AR passthrough, like enabling VR in your Player settings.
- Delete ZED_Rig_Mono - Cam 1
- In the Projects tab, navigate to ZED -> Prefabs
- Drag a ZED_Rig_Stereo prefab into the Hierarchy and rename it ZED_Rig_Stereo - Cam 1
- Click the triangle besides your new prefab to reveal the Camera_eyes object. Do the same to Camera_eyes to reveal the Left_eye and Right_eye objects.
- Navigate back to ZED -> Examples -> MultiCam - Scripts and drag another CopyToSurface script into Left_eye
- With Left-eye selected, drag-and-drop Camera 1 Image into the Canvas Raw Image field of CopyToSurface
If you run the scene, you should see the same output as before in the Game view. But if you put on the headset, you’ll see the AR passthrough images like normal. All that’s left to do is rearrange the UI.
- Set Camera 1 Image’s Anchors values to X Min = 0, X Max = 1, Y Min = 0, Y Max = 1
- Delete Background as it’s now covered up by Camera 1 Image
- Select Camera 2 Image
- In the Inspector, set Camera 2 Image’s Anchors values to X Min = 0.65, X Max = 1, Y Min = 0, Y Max = 0.35
Run the scene. Your view should look like this:
If you see the wrong ZED output in the headset, switch the Camera ID values in the two ZEDManager components with one another. You can rename the different objects accordingly.
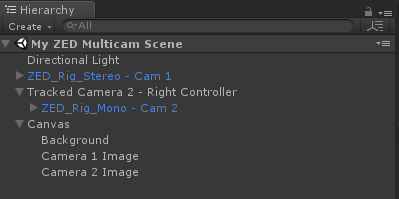
Synchronizing Camera Positions
Right now, if you put a virtual object in the scene and ran it, both cameras would be able to see it. However, it would not appear to be in the same place to each camera. This is because Unity doesn’t know exactly where the cameras are when the scene runs. Even if the ZED’s own 6DoF positional tracking can update its poses at runtime, the ZED’s would start from the same origin.
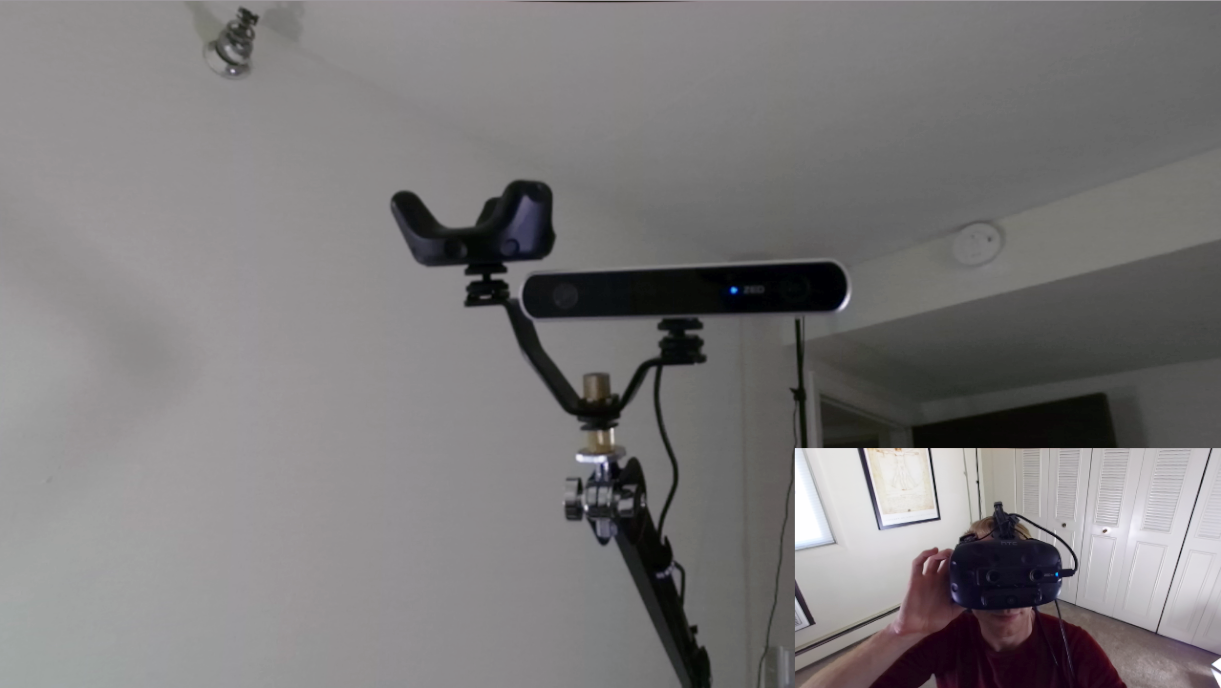
The simplest and most accurate way of tracking the cameras is with SteamVR and tracked objects. We’ll use a Vive controller, Vive Tracker or Rift Touch Controller to each ZED camera and calibrate them. A ZED Mini attached to a tracked headset does not need a tracker, nor does it need to be calibrated.
We cover the steps to add Vive Trackers to ZED Cameras in detail in our Green Screen VR Capture tutorial. Here we provide a short version.
- Download the Unity SteamVR plugin
- Create an empty GameObject in the scene for each ZED camera not attached to a VR headset, and rename it something descriptive (eg. Tracked Camera 2 - Right Controller)
- Attach a ZEDControllerTracker component to each such GameObject
- Set its DeviceToTrack setting to the type of object you wish to track
- Uncheck Enable Controller Drift Fix as this is only for using controllers with AR pass-through and can cause tracking problems
- Drag and drop the ZED_Rig_Mono object of the ZED it should track to its ZED Manager field, setting that field to the rig’s ZEDManager component
![]()
- With the ZED_Rig_Mono object selected, uncheck Enable Tracking in the Inspector
- Drag and drop that same ZED_Rig_Mono object again over that new GameObject in the Hierarchy, making it a child of it
You must then calibrate the ZED to match its positional and rotational offset with its tracked object. Choose one of the below ways to do this:
-
Run the scene and manually adjust the Position and Rotation values in the ZED_Rig_Mono object’s Transform component, visible in the Inspector. Once objects appear to be in the correct position, copy the values you entered, stop the scene, and put them back into the Transform component after Unity clears them.
-
Download our interactive Calibration App here, and download and install its CUDA 9.1 dependency here if not already installed. Run the app and follow the instructions (explained in our Green Screen VR tutorial). Back in Unity, add a ZEDOffsetController component to the ZED_Rig_Mono object. It will automatically load your saved calibration at runtime.
After doing all this, go back and uncheck Enable Tracking on the ZED_Rig_Stereo’s ZEDManager component, as well. This ensures that all cameras are using the same tracking space.
Add A Virtual Object
- Right-click the Hierarchy to add a 3D Object -> Cube to the scene
- Set the cube’s position to X = 0, Y = 1, Z = 0 if using SteamVR to synchronize the cameras, or X = 0, Y = 0, Z = 1 if using Spatial Memory
- Set the cube’s scale to 0.5 for all three axes
- Go to the cube’s MeshRenderer, open the Materials dropdown, and replace the Default material with crate_diffuse to give it a crate texture
Run the scene. You should see the cube floating in the same place in both cameras.