Object Detection with UE5
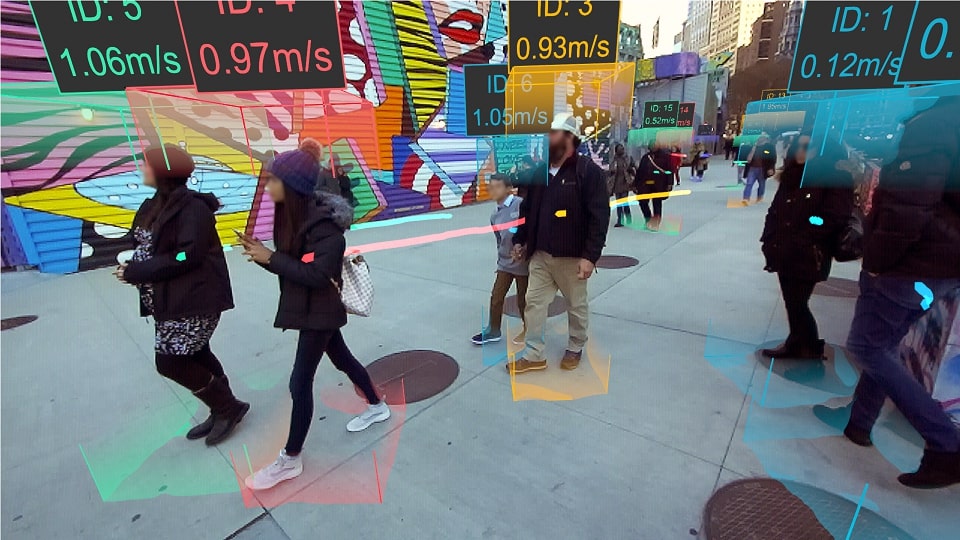
In this tutorial, you will learn how to detect people/objects and place 3D boxes around them using Object Detection.
What is 3D Object Detection?
The ZED SDK Object Detection module uses a highly-optimized AI model to recognize specific objects (currently people and vehicles) within the video feed. Using depth, it goes a step further than similar algorithms to calculate the object’s 3D position in the world, not just within the 2D image.
This tutorial will simply add boxes to encompass each person, but this feature could be extended to many applications, such as counting and visualizing occupancy in a zone or having virtual characters react to nearby people.
Preparing your ZED 2
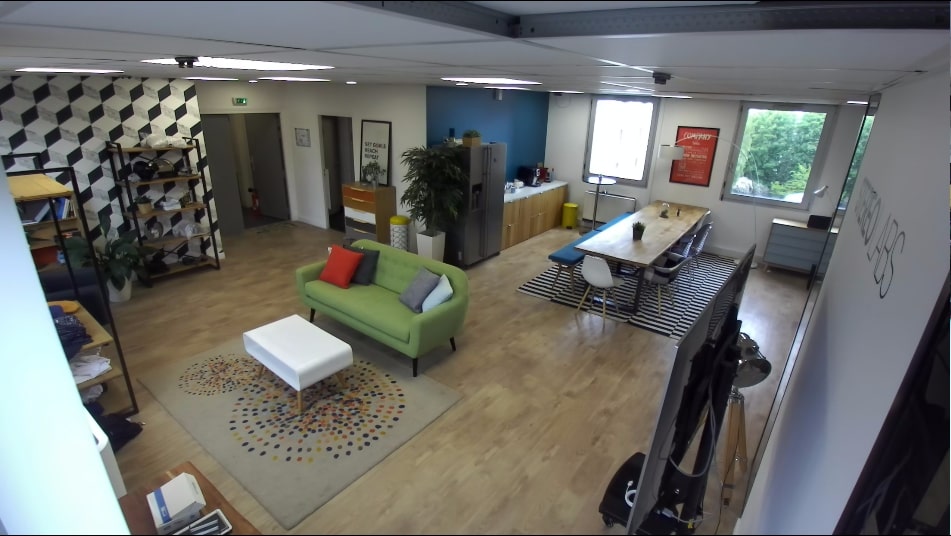
The Object Detection module can use the floor plane position to make more assumptions, such as keeping boxes in contact with it. To do so, the floor plane should be visible in the image when starting the module, as in this image:
Setting Up the Scene
Basic Settings
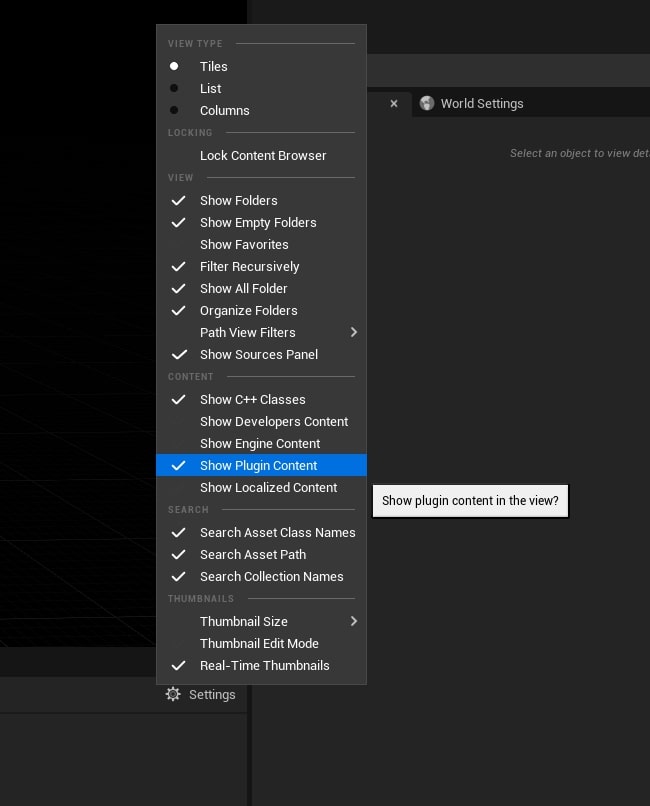
Now we’ve got to add a Blueprint from the ZED plugin. But by default, Content from plugins is hidden. To fix this, click on View Options at the bottom right of the Content Browser and enable Show Plugin Content.
Now click on the folder icon beside Content and click on StereoLabs Content to switch to the plugin’s content folder.
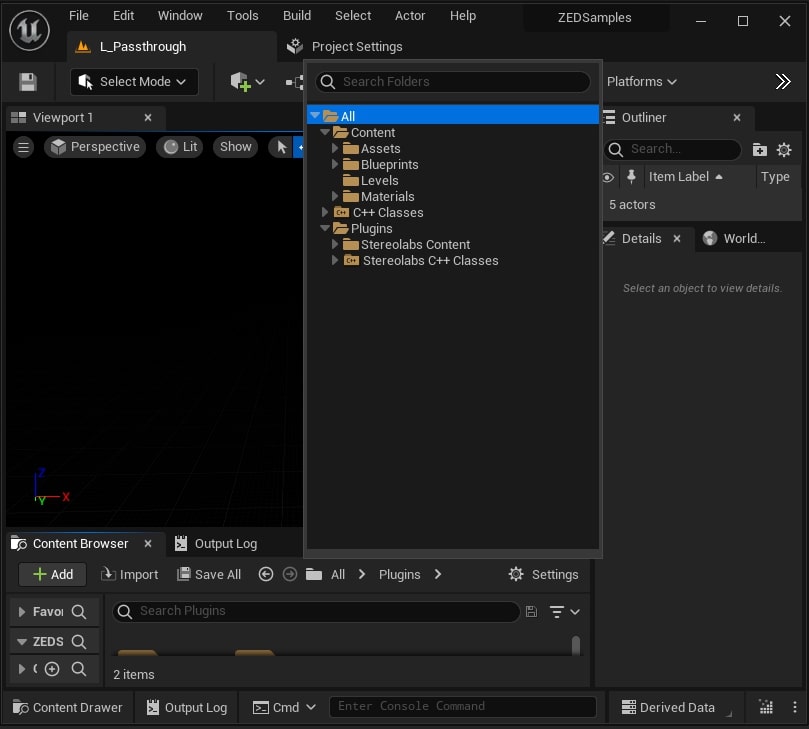
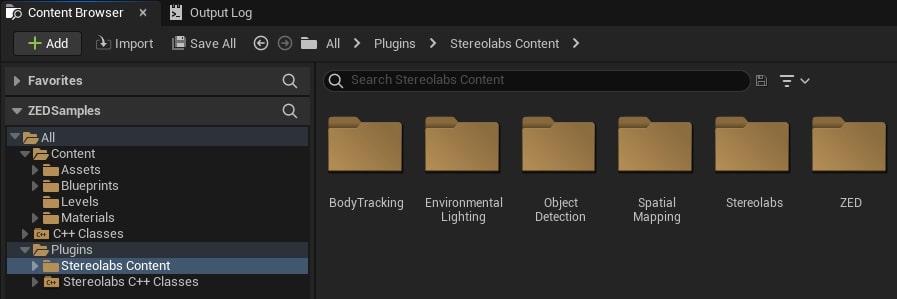
In the Content Browser, go to Plugins -> StereoLabs Content -> ZED -> Blueprints and drag a BP_ZED_Initializer into the scene. This is the object that sets up your camera and handles communication with your app.
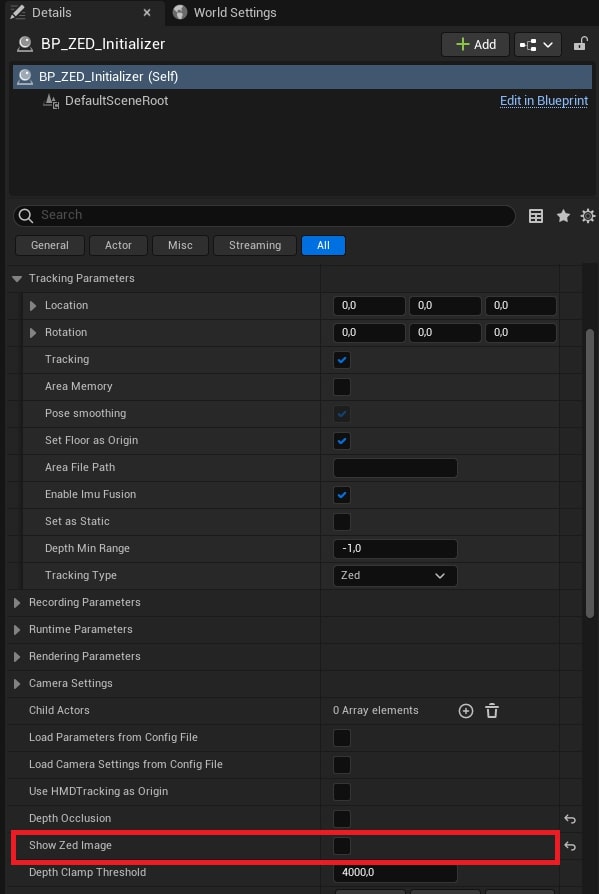
- Select the BP_ZED_Initializer blueprint, and in the ZED section, uncheck the Show Zed Image parameter. This parameter has to be disabled so we can see the 3D scene and not the zed’s image in fullscreen.
- In the Init Parameters section, set the Resolution to 1080p. This is not required but increases object detection accuracy
- Set Depth Mode to ULTRA. Also not required but can improve object detection accuracy.
- If your camera is fixed and will not move, enable Set as Static in the Tracking Parameters section to prevent incorrect drift throughout the scene.
Object Detection Settings
Open the ZED / Object Detection section of the BP_ZED_Initializer.
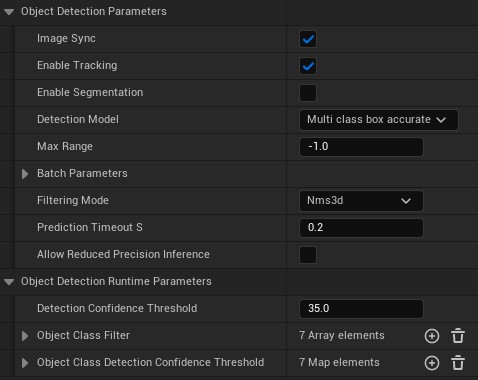
You don’t need to change the default settings, but let’s take a moment to review them for future reference.
- Detection Model: AI model for detection. You can choose between
MULTI_CLASS_BOX(fast, but less accurate),MULTI_CLASS_BOX_MEDIUM(less fast, but more accurate), andMULTI_CLASS_BOX_ACCURATE(most accurate, but slower) to track all kinds of objects, orPERSON_HEAD_BOXorPERSON_HEAD_ACCURATEto track people’s heads. - Image Sync: Synchronize the object detection to the image grab.
- Enable Tracking: If enabled, the ZED SDK will track objects between frames, providing more accurate data and giving access to more information, such as velocity.
- Enable Segmentation: Enabling this allows scripts to access a 2D image that shows exactly which pixels in an object’s 2D bounding box belong to the object. Since we’re using the 3D bounding boxes only in this tutorial, leave this unchecked to save performance.
- Max Range Defines an upper depth range for detections (in centimeters).
- Filtering Mode Defines the bounding box preprocessor used. More info here.
- Prediction Timeout: Duration during which the SDK will predict the position of a lost object before its state is switched to
SEARCHING. - Allow Reduced Precision Inference Allows inference to run at a lower precision to improve runtime and memory usage.
The ZED SDK is able to detect multiple types of objects.
- Confidence Threshold: Sets the minimum confidence value for a detected object to be published. Ex: If set to 40, the ZED SDK needs to be at least 40% confident that a detected object exists. Available for each class.
- Class Filter: If enabled, the ZED SDK will detect this class. Available for each class.
Now, go to Content-> ZED-> Blueprints -> Object Detection and add BP_ObjectDetection3D_Visualizer into the scene as well. This object will manage the placement of the 3D boxes in the scene.
In the Details Panel, you will find the “Enable OD” and “Disable OD” buttons. Normally, the Object Detection module doesn’t start when the ZED does because it causes a long delay. This button is one of two ways to start the module. The other is via script, which we’ll be doing here (this is done by default).
Adding Visuals
The rendering of the 3D bounding boxes is handled by the BP_ObjectDetection3D_Visualizer.
-
In the BP_ObjectDetection3D_Visualizer, check that the model spawned is the BP_BBox3D blueprint.
-
In the Details Panel, check that the Start Object Detection Automatically is enabled.
Run the Scene
After a short initialization period, the app will pause for a few seconds as the object detection module loads.
Once it does, step into the ZED’s view. You should see yourself enclosed in a box. Walk around, crouch, wave your arms, and the box will transform itself accordingly. Bring some friends into view to see it track multiple people at once.
To see a similar scene already built, check out the L_ObjectDetection_3D level. There are also plenty of other scenes for getting started that will show you the basics of lighting, spatial mapping, object placement and more.