AR/MR with UE5
AR/MR with UE5
In this tutorial, you will learn how to create a simple mixed reality application.
Creating Your Level
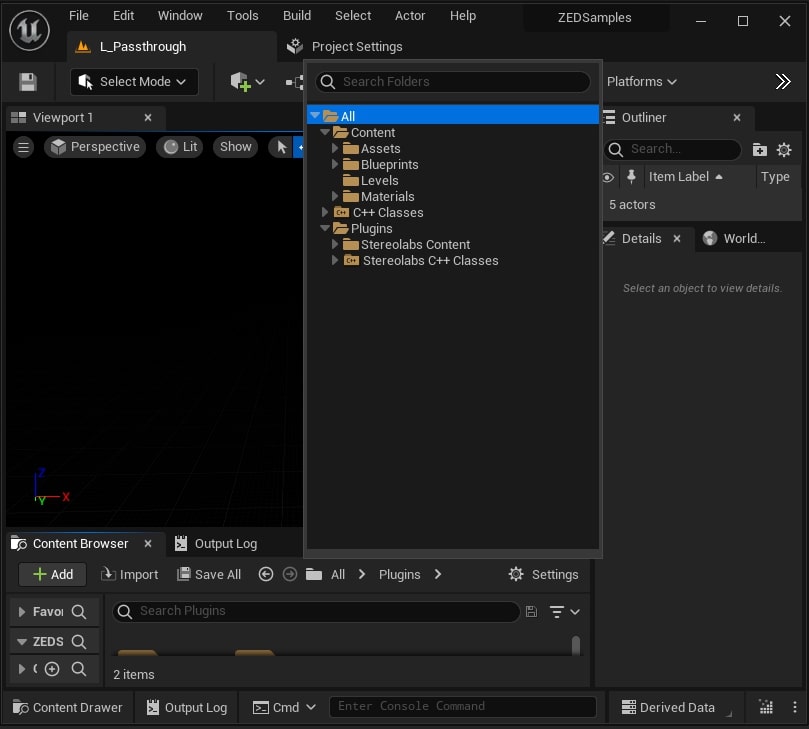
We’ll start our level from scratch. Delete all the objects in the level - you can do this by selecting everything in the World Outliner under your level name (“Untitled” by default) and hitting Delete.
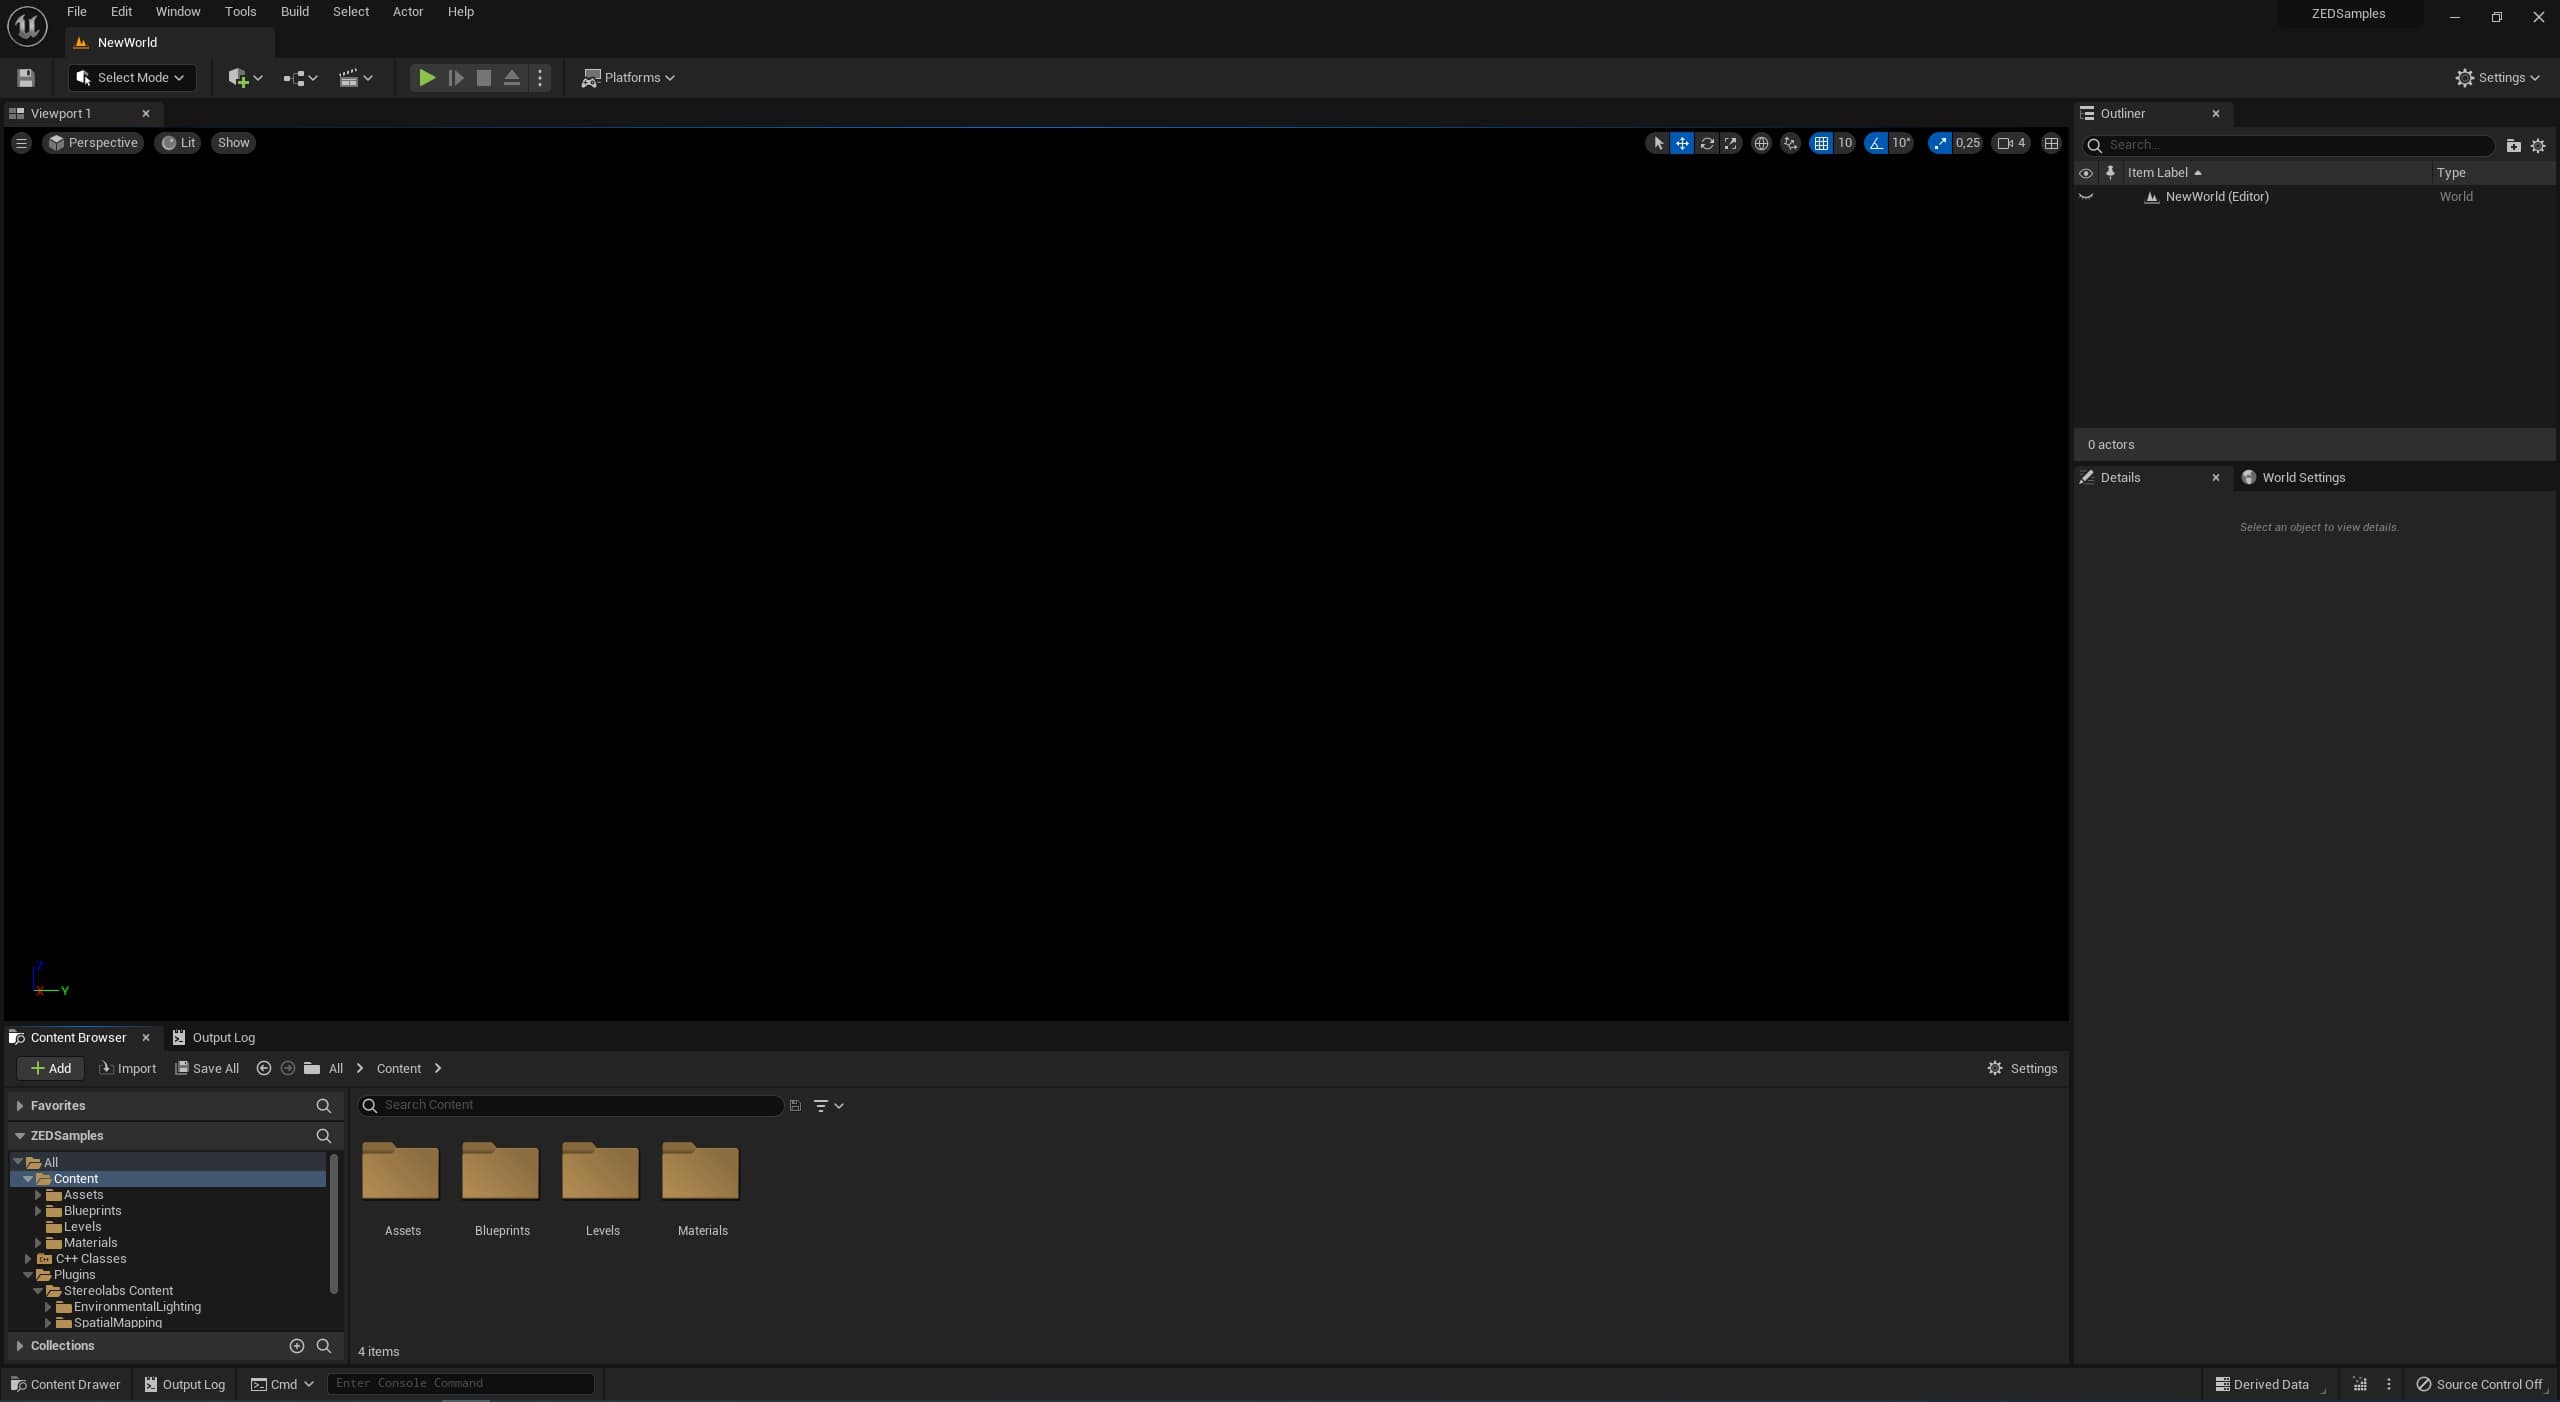
You choose your level’s name the first time you hit Control-S to save. This will also make two files appear in your Content Browser, as seen above.
Adding a Light
Directional Light
We need to add a Directional Light to the scene so that the ZED image is not black. The directional light will not illuminate the real scene, but it will be used to illuminate virtual objects.
Add a Directional Light by going to Lights in the Modes tab and clicking and dragging a Directional Light into the viewport.

If you have a bright, dominant light in your environment from a direction other than up, you can experiment with rotating the light to match it. But remember that it’ll only look right in this environment, and only if you match up the ZED’s orientation with it.
Ambient Light
Now we need to add some ambient light to the scene. If we don’t, any part of an object that the directional light can’t cast on (such as its underside) will be completely black. In the Modes menu under Lights, drag a Sky Light into the scene.

With the new light selected, go to the Details panel. Under Light, change the Source Type to SLS Specified Cubemap. Then under Cubemap, click the drop-down menu. With it open, click on View Options and make sure that Show Plugin Content is enabled.
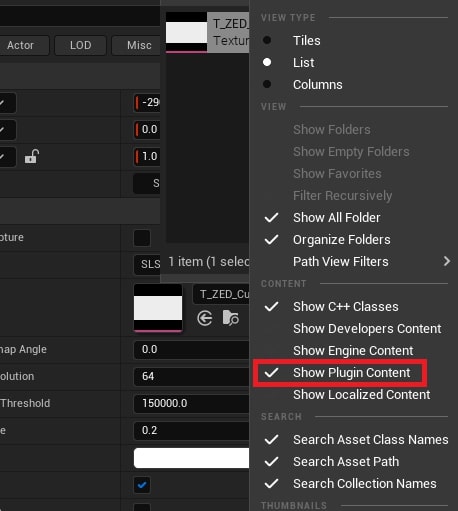
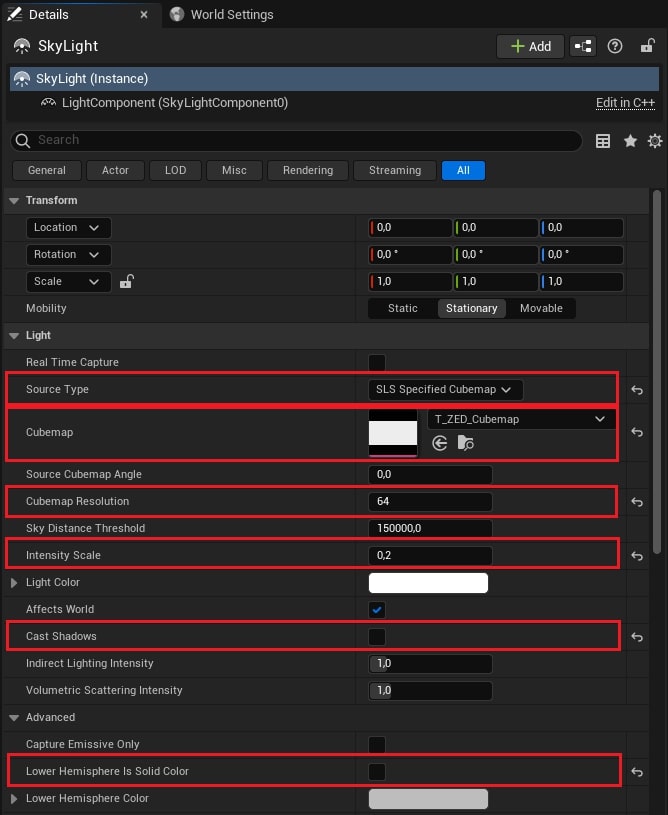
Doing so added a texture from the ZED plugin to the dropdown menu: T_ZED_Cubemap, as seen above. Click that. It’s a neutral cubemap that will tell the light to emit white light from all directions. Next, make the following changes:
- Set Cubemap Resolution to 64
- Set Intensity to 0.2
- Disable Cast Shadows
- Disable Lower Hemisphere Is Solid Color
Setting Up the Scene
Now we’ve got to add a Blueprint from the ZED plugin. But by default, Content from plugins is hidden. To fix this, click on View Options at the bottom right of the Content Browser and enable Show Plugin Content.
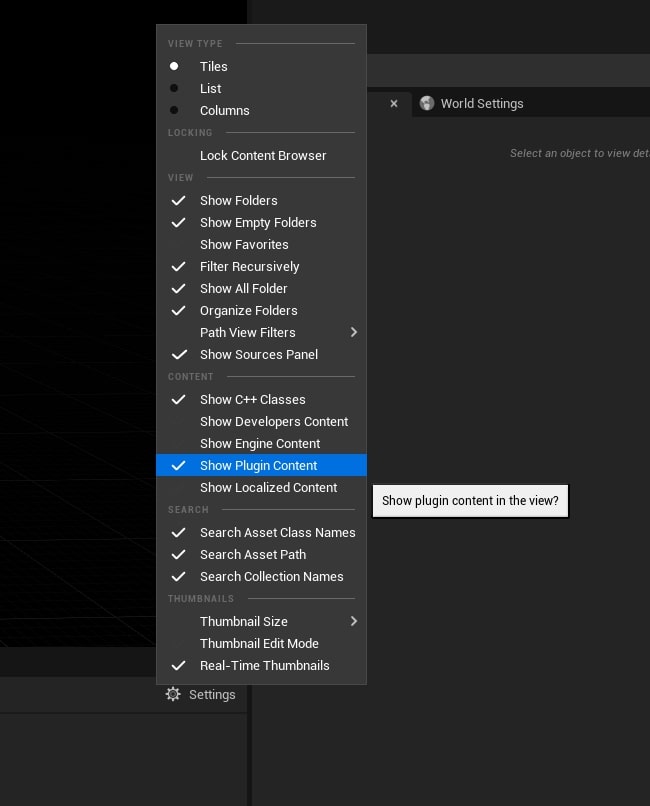
Now click on the folder icon beside Content and click on StereoLabs Content to switch to the plugin’s content folder.
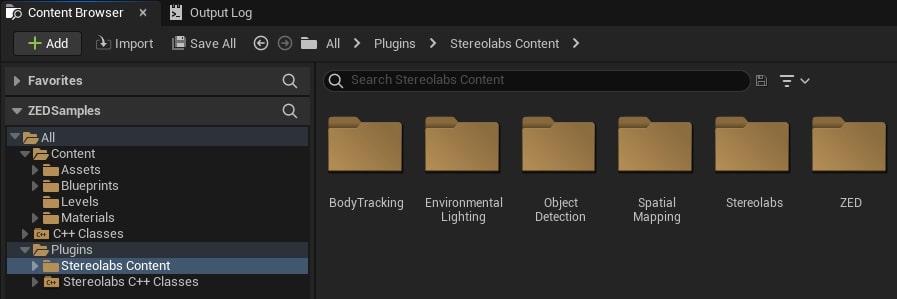
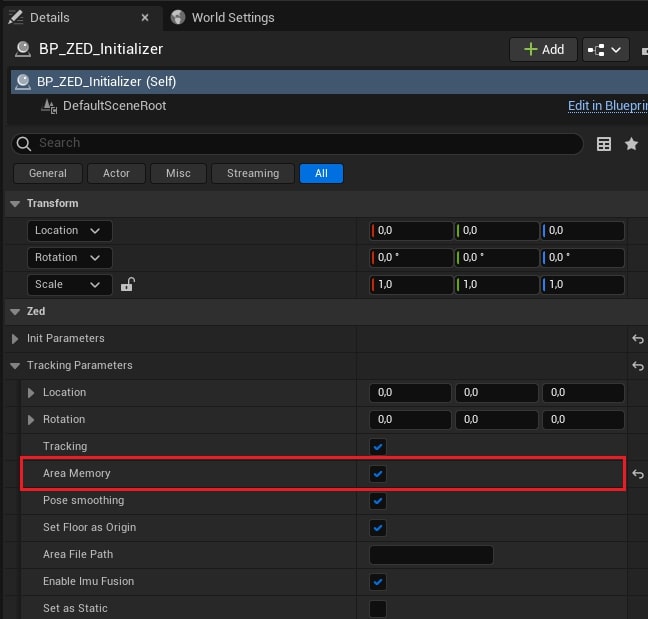
In the Content Browser, go to Plugins -> StereoLabs Content -> ZED -> Blueprints and drag a BP_ZED_Initializer into the scene. This is the object that sets up your camera and handles communication with your app. As your ZED tracks its position and rotation in your environment, we want it to remember features as it goes to help keep itself stabilized and recover from drift. To do this, go to the Details panel (with the new BP_ZED_Initializer selected), expand Tracking Parameters, and enable Area Memory.
Adding a Virtual Object
We’ve got the lights and the camera. Time to add the action - a virtual object placed into the scene.
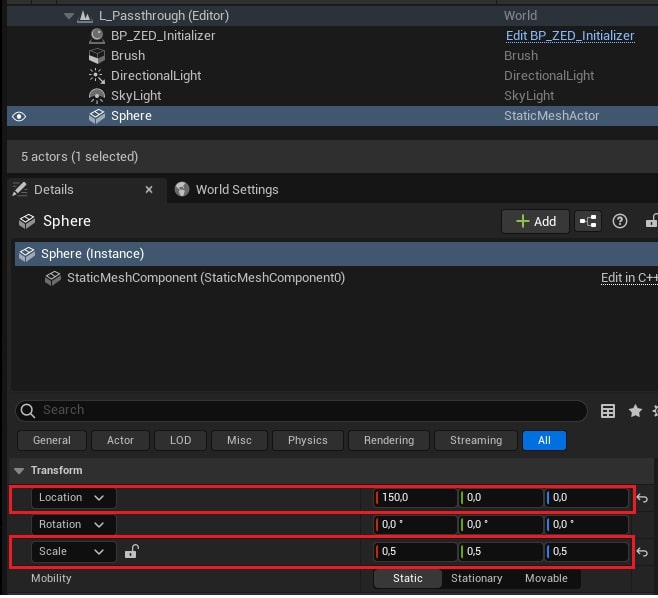
In the Modes tab under Geometry, drag a Sphere into your scene. Once you do, go to the Details tab and set its Location to X = 150, Y = 0, Z = 0. We move it here because the ZED will start at 0,0,0, and we want the sphere to appear in front of the camera.
Also set the Scale to X = 0.5, Y = 0.5, Z = 0.5. This will shrink it down to a manageable size to experiment with.
Run the scene
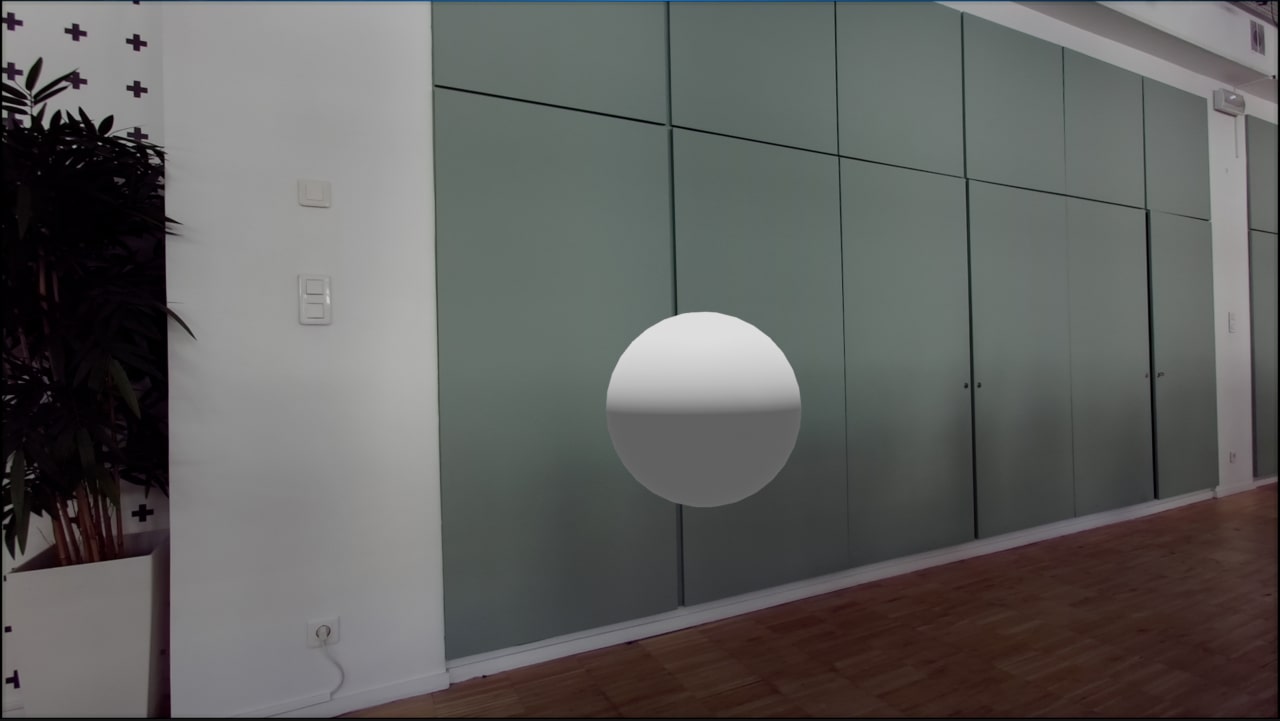
Now it’s time to run your scene!
Once loaded, you’ll see your real environment, but with a virtual sphere floating in it, and a virtual shadow underneath.
To see a similar scene already built, check out the L_Passthrough level. There are also plenty of other scenes for getting started that will show you the basics of object detection, spatial mapping, object placement and more.