
Plane Detection in ROS
In this tutorial, you will learn how to exploit the Plane Detection capabilities of the ZED SDK to detect the planes in the environment where a ZED camera is operating.
Start a plane detection task #
The ZED ROS nodelet subscribes to the topic /clicked_point of type geometry_msgs/PointStamped, usually published by Rviz.
When a message on the topic /clicked_point is received, the node searches for the first plane hitten by a virtual ray starting from the camera optical center and virtually passing through the received 3D point.
If a plane is found, its position and orientation are calculated, the 3D mesh is extracted and all the useful plane information is published as a custom zed_interfaces/PlaneStamped message on the topic /<camera_model>/<node_name>/plane.
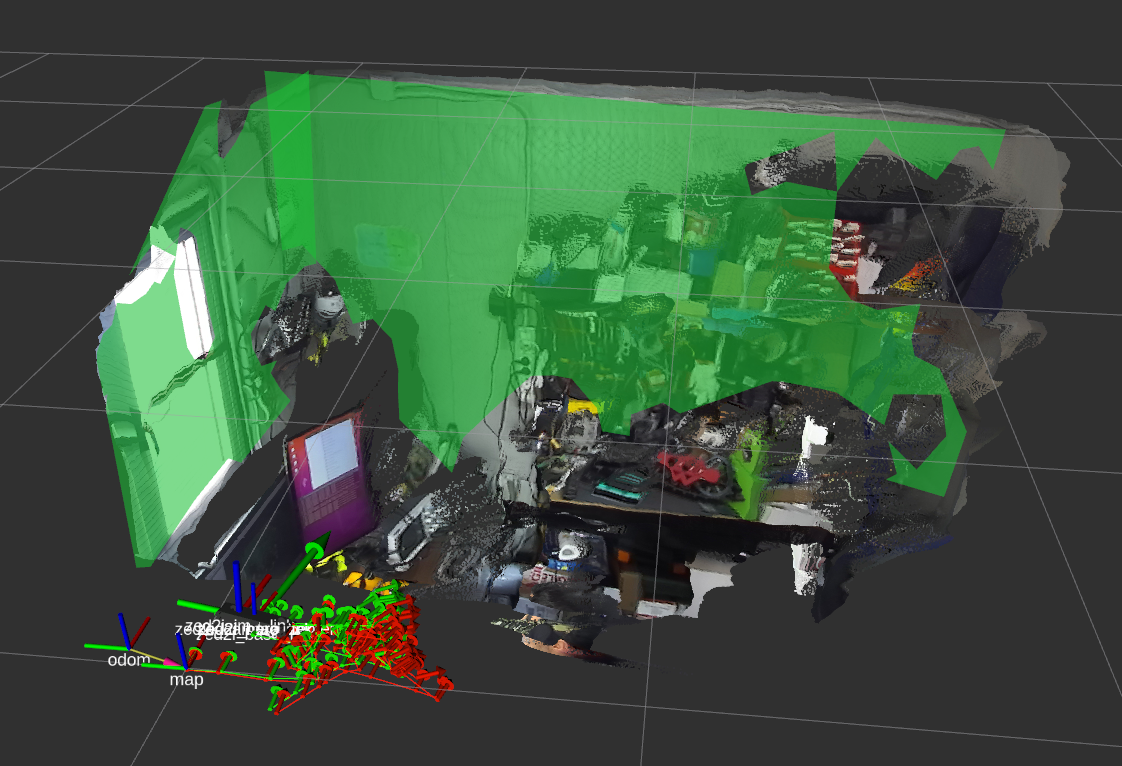
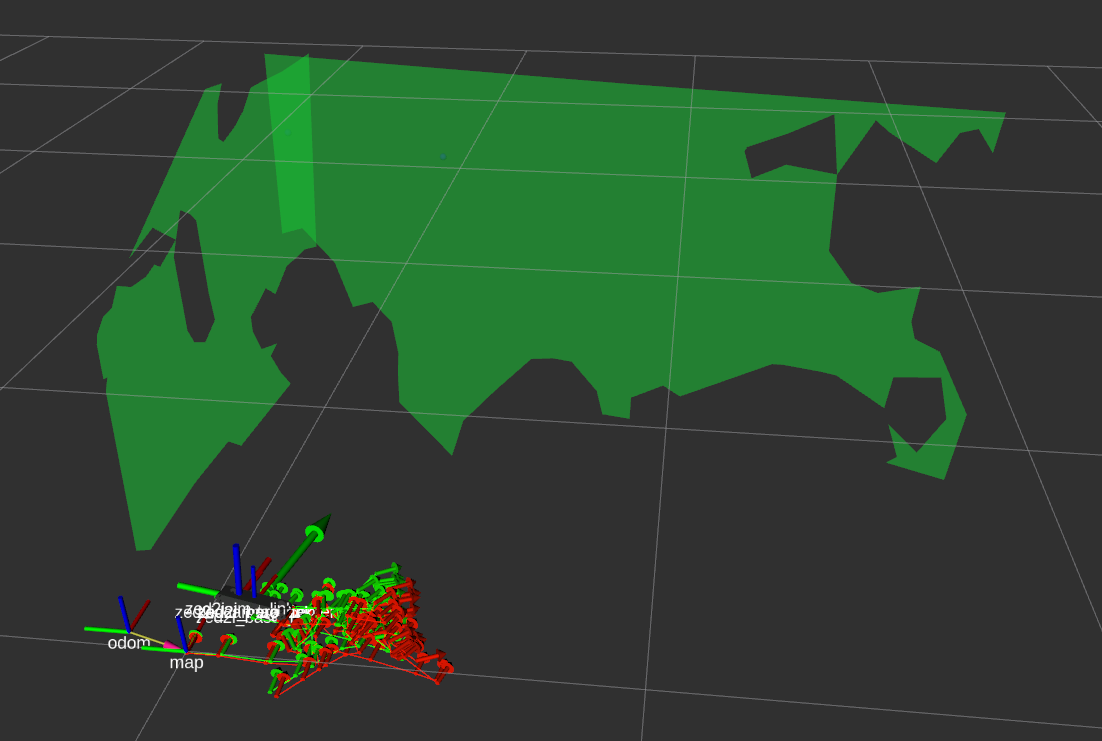
A second message of type visualization_msgs/Marker with information useful for visualization is published on the topic /<camera_model>/<node_name>/plane_marker in order to display the plane using a Marker display plugin in Rviz.
Logging #
When a plane detection is started, the log of the ROS wrapper will show the following information:
[ INFO] [1650968720.874632336]: Clicked 3D point [X FW, Y LF, Z UP]: [1.99638,0.382713,0.483519]
[ INFO] [1650968720.874707228]: 'map' -> 'zed2i_left_camera_optical': {-0.023,0.014,-0.130} {-0.469,0.554,-0.507,-0.465}
[ INFO] [1650968720.874751279]: Point in camera coordinates [Z FW, X RG, Y DW]: {-0.676,-0.546,1.774}
[ INFO] [1650968720.874803341]: Clicked point image coordinates: [442.699,182.342]
[ INFO] [1650968720.930809324]: Found plane at point [1.996,0.383,0.484] -> Center: [1.255,0.649,0.199], Dims: 1.458x1.225
Rviz #
The Rviz GUI allows one to easily start a plane detection task and displays the results of the detection.
Start a plane detection #
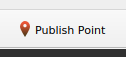
To publish a /clicked_point point message and start a plane detection the Publish Point button must be enabled and a point of the 3D view or the camera view must be clicked.
Configure Rviz to display the results #
The Marker plugin allows you to visualize the information of the detected planes.
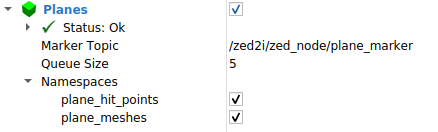
Key parameters:
Marker Topic: The topic that contains the information relative to the detected planes: e.g./zed2i/zed_node/plane_markerQueue Size: The size of the message queue. Use at least a value of2to not lose messages.Namespaces: The list of available information:plane_hit_points: Select to display a sphere where the click has been received.plane_meshes: Select to display all the meshes of the detected planes.
Detected Plane message #
The zed_interfaces/PlaneStamped message is defined as:
# Standard Header
std_msgs/Header header

# Mesh of the place
shape_msgs/Mesh mesh

# Representation of a plane, using the plane equation ax + by + cz + d = 0
shape_msgs/Plane coefficients

# Normal vector
geometry_msgs/Point32 normal

# Center point
geometry_msgs/Point32 center

# Plane pose relative to the global reference frame
geometry_msgs/Transform pose

# Width and height of the bounding rectangle around the plane contours
float32[2] extents

# The polygon bounds of the plane
geometry_msgs/Polygon bounds