
Setting up ZED Camera in Isaac™ Sim
This tutorial guides you through setting up the ZED X camera in NVIDIA® Isaac™ Sim and connecting to the ZED SDK. If you’re not familiar with Isaac™ Sim, make sure to go through the Isaac™ Sim Official documentation.
Setting up your virtual camera #
Add the model to the stage #
The ZED X model is available in the Isaac Assets tab on the bottom panel.
If you cannot find the ZED X Model, then you can manually add it by cloning the GitHub repository:
cd <your_workspace>
git clone git@github.com:stereolabs/zed-isaac-sim.git

Select the model ZED_X.usd and drag it in the Viewport or in the Stage view.

You will notice the prim has a base_link XForm, this is the reference frame of the mounting point on the bottom of the camera.
Activate the ZED Camera extension #
The virtual camera takes advantage of the ZED SDK streaming input to stream its data into the ZED SDK.
The first step is to enable the ZED Camera extension to get access to the ZED Camera Helper Omnigraph node.
In the top menu bar, navigate to Window -> Extension to show the extension manager.
If you cannot find the ZED X Extension, then you can manually add it by cloning the GitHub repository, if you have not yet done this before:
cd <your_workspace>
git clone git@github.com:stereolabs/zed-isaac-sim.git
Click on the menu button (three horizontal bars), select Settings, and create a new entry in the right list with the path to the root folder of the cloned repository.
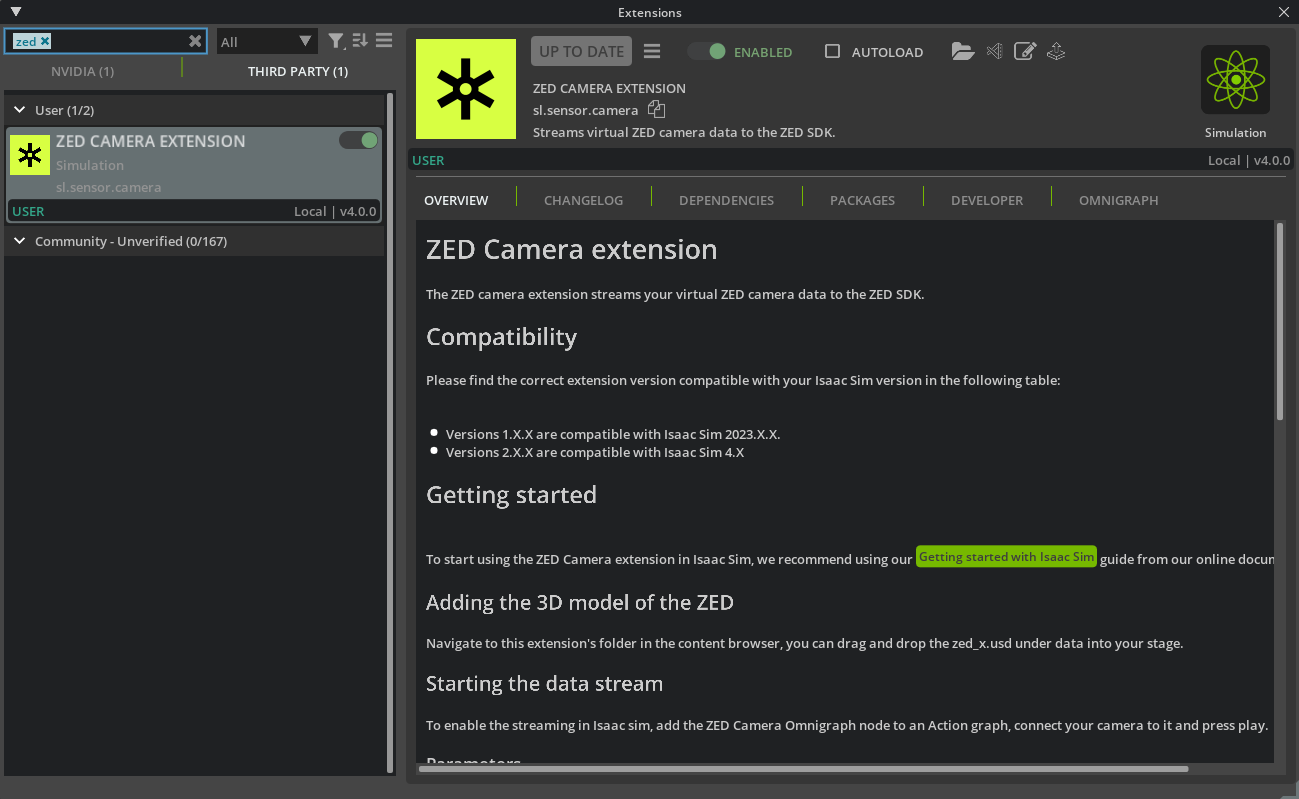
Now search for zed in the search bar on the left column, and hit INSTALL to install the ZED Extension.
Finally, toggle the DISABLED switch to activate the extension and flag the AUTOLOAD option if you want the extension to be loaded when the simulator starts.
Build the action graph #
To initiate the virtual ZED camera streaming, we will be using the ZED Camera Helper Omnigraph node. To stream data at each simulation tick, drag and drop this node into the graph (you can type zed in the search panel to quickly find it), add its ZED Camera prim target to the camera in the scene, and connect its ExecIn input to the Tick output of the On Playback Tick node.
📌 Note: Starting from version 4.0.0 of the extension, two nodes are available by the ZED Camera Extension, ZED Camera Helper and ZED Bridge. Please make sure to choose the ZED Camera Helper node.

You can also configure the streamer properties in the Property panel on the right:
- ZED Camera prim: this parameter should be set to the ZED X camera prim in the stage as shown in the picture above.
- Camera Model: Defines the camera model simulated. Must match the ZED Camera Prim usd to provide accurate depth.
- FPS: Target frame rate streamed to the ZED SDK
- IPC: Defines whether to stream through IPC (inter-process communication) or network streaming. To maximize performance, it is recommended to use IPC set to
true. Network mode enables simulating on a given server, and streaming to one or multiple machine(s) on the local network. (Only available on Windows) - Resolution: Defines the camera resolution used. Lowering the resolution may provide better runtime performance.
- Streaming port: Defines which port is used for streaming. It must be an even number. And that’s it, you can now start the simulation to stream your stage into the ZED SDK!
Test it in ZED DepthViewer #
Once streaming is started, you can test it by connecting the ZED DepthViewer to the virtual camera. Simply launch the tool, click on the streaming input button, set the IP Address (the streaming computer) and the port (set in Streaming port), and you should see the depth data coming from the virtual environment.
