ZED360
ZED360 is an easy-to-use tool that simplifies multi-camera data fusion for users using the ZED SDK’s Fusion API with ZED stereo cameras. ZED360 allows you to seamlessly calibrate your camera array and fuse data from multiple sources. Although it is currently primarily focused on body-tracking fusion, ZED360 will continue to integrate more functionalities as the Fusion API evolves.
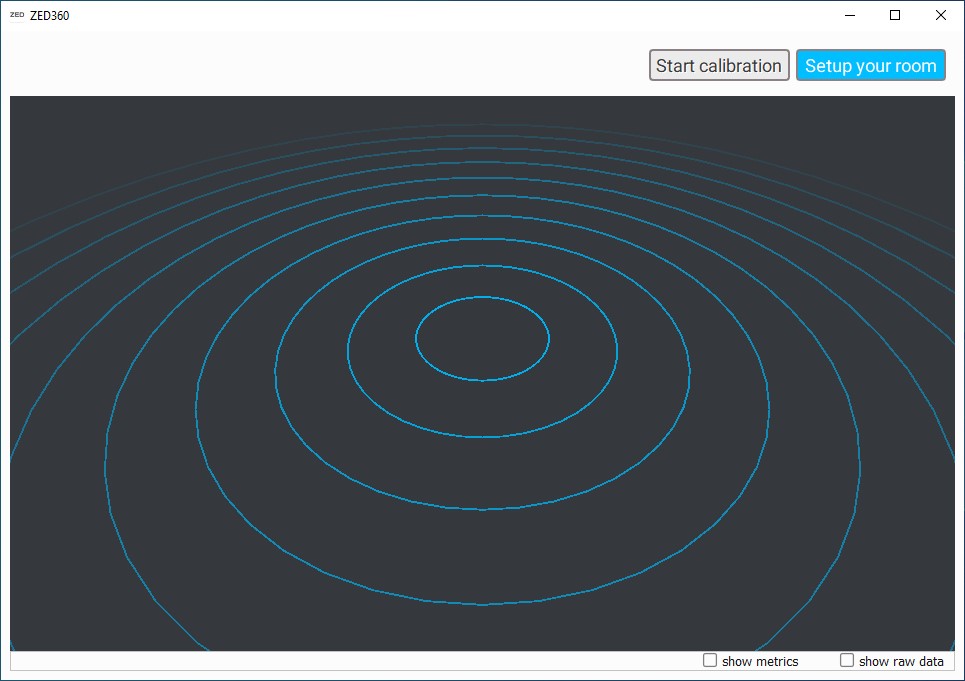
Additionally, ZED360 can evaluate the quality of the calibration of your system, as you can visualize both raw data and fused body data, making it easy to gain insights into your multi-camera setups.
ZED360 is designed exclusively for use with stereo cameras. It is not compatible with ZED X One cameras for extrinsic monocular-to-stereo calibration. For that purpose, you must use a dedicated calibration tool, such as the open-source ZED X One Calibration Tool.
Getting started
Start by launching the ZED360 Tool:
- On Windows:
C:\Program Files (x86)\ZED SDK\tools\ZED360.exe - On Linux:
/usr/local/zed/tools/ZED360
Calibration process
The calibration process uses the body tracking data from each camera to operate. An optimization algorithm will align the incoming data in common WORLD coordinates to minimize the distance of body key points viewed from each camera.
Local vs Network Workflow
There are multiple ways to ingest data in the Fusion API: either by using the Local Workflow or the Network Workflow.
Local Workflow
The Local Workflow consists of having all of the cameras plugged physically into one machine. This host machine will act as both publisher and subscriber.
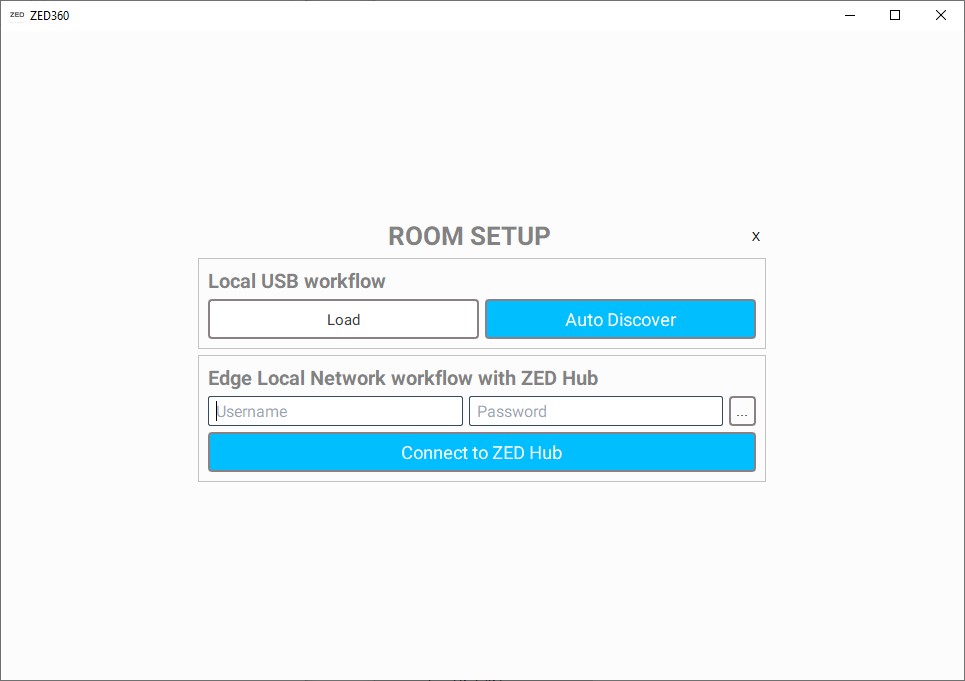
To connect your cameras with the Local Workflow in ZED360:
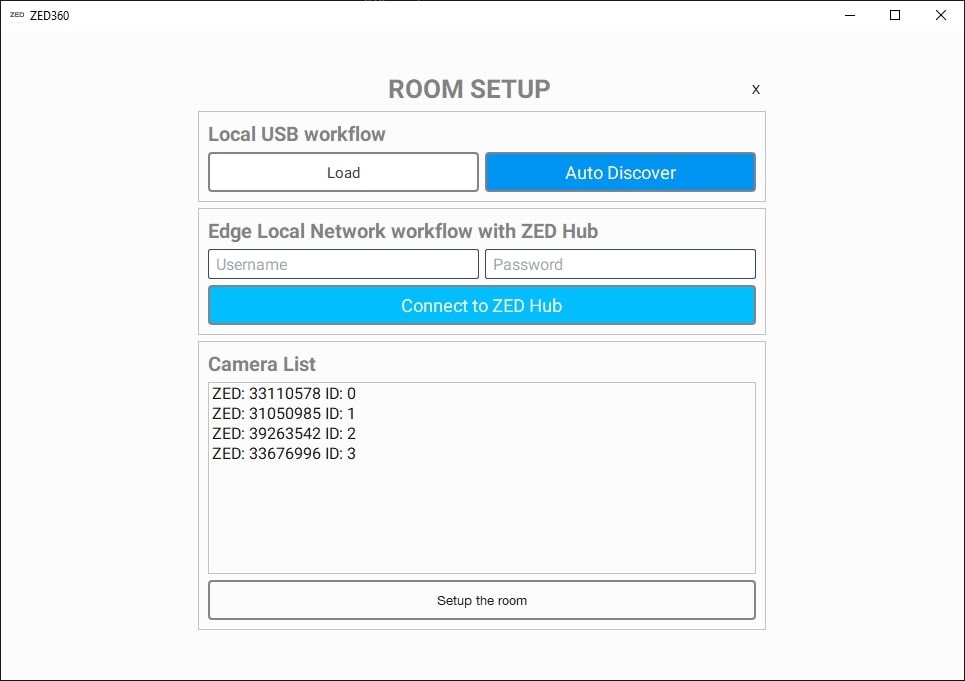
- Click on Auto Discover: ZED360 will find all of the ZED cameras currently connected to the host machine. Click on Setup the room under the list to load them into ZED360.
- Load: Load a configuration file describing your setup, see Fusion configuration files.
Network Workflow
The Network Workflow is to be used when each publisher camera is connected to its own host machine and the subscriber (which is running ZED360) is the dedicated host machine that subscribes to all incoming data over the network and performs the fusion.
To connect your cameras with the Network Workflow:
- Enter your ZED Hub credentials to access your ZED Hub workspaces
- Select a workspace
- Select the devices to be calibrated together
- Click on Retrieve the selected devices
- Alternatively, if a configuration already exists for the selected workspace, it can be retrieved by clicking the “Retrieve the existing configuration” button. You can check the configuration in the next steps without starting the calibration again.

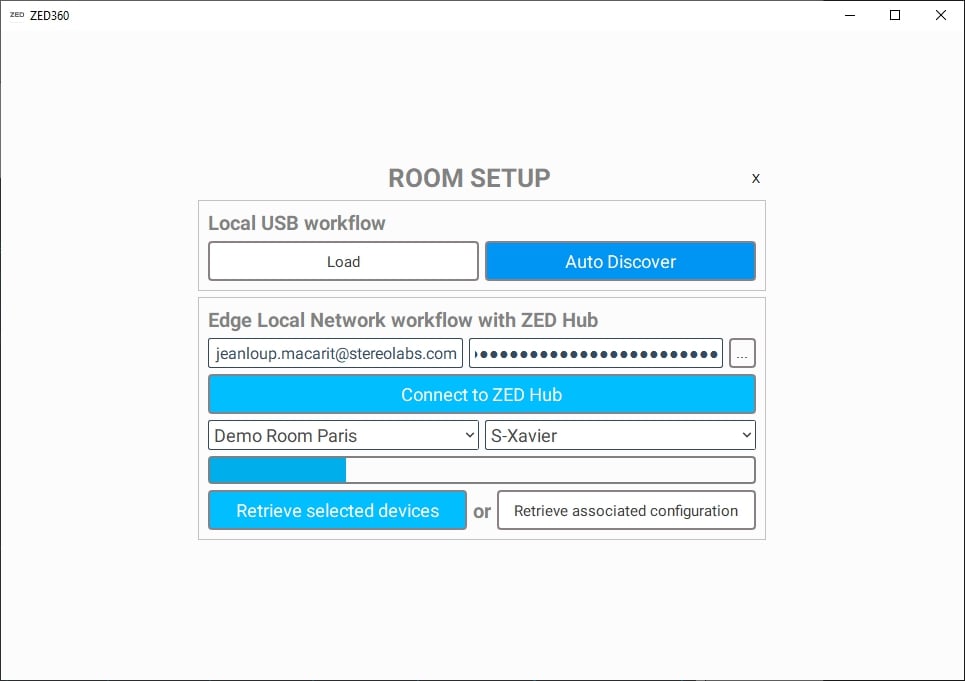
- Click on “Setup the room”
Calibrate the cameras
After clicking on Setup the room, you should see the cameras with their serial numbers on the screen, all positioned at the center of the scene. At this stage, only their rotation data, provided by their IMU, is visible.
Here are the main rules to process the calibration:
- Each camera of the setup should have a minimal overlap (enough to let a person be seen at the same time by different cameras).
- Each camera should see one and only one person at a time.
Start the calibration process
Here are step-by-step instructions for calibrating your camera array with ZED360:
-
Begin by having a person move around the entire space of the desired area. It’s important to cover the whole space during this step, as the calibration may be inaccurate in areas where no person was detected.
-
The person should walk slowly to allow for the iterative optimization process to run. Every ~10 seconds, an optimization loop will be performed, and you should see the cameras moving and the detected body starting to align with each other.
-
Continue to walk across the space, as the more you move, the more optimization steps will occur, resulting in better calibration.
-
At some point, the detected bodies should be well aligned. Once this point is reached, you can stop the calibration process by clicking on Finish calibration.
By following these steps, you’ll be able to easily calibrate your camera array with ZED360 and achieve optimal results.
Export the calibration
- After finishing the calibration process, you should be prompted with a dialog to save the JSON configuration file.
- Save the file and use it in any app that uses the Fusion API.
🎉 Congratulations! You have successfully calibrated your system and should be able to see your fused skeleton in the ZED360 view.
Important: The created calibration file remains valid as long as your cameras don’t move. If any change to the system is made, please recalibrate your system.
Useful knowledge about the Fusion API Calibration
- The camera rotations (pitch and roll) are given by the camera IMU, only the yaw is calibrated.
- If during the process the ankles of the person are seen, the floor plane level is estimated.
- One camera, the first to be loaded, is defined as the world origin, its position will be (0, H ,0) with H being its height, which depends on the condition mentioned above.