ZED Calibration
ZED Calibration is a tool designed to tune the calibration of your ZED camera. It enables you to fine-tune both intrinsic parameters, such as focal length and principal point, and extrinsic parameters, including the relative position and orientation of the camera’s CMOS sensors. This adjustment can enhance depth accuracy and 3D reconstruction.
While the ZED Calibration tool can help you fine-tune your camera’s calibration, the factory calibration is typically more accurate than user calibrations.
Only use this tool if you have a specific reason, such as compensating for distortions caused by placing glass in front of the camera, operating the camera underwater, or if you observe degraded depth perception after the camera has been exposed to extreme temperatures or suffered a strong impact.
How to use ZED Calibration
-
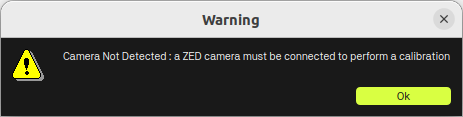
Connect the ZED Camera: Ensure your ZED camera is connected to your computer; otherwise, you will get this error message and the application will exit:
-
Launch the Application: Open the ZED Calibration tool from the ZED SDK installation directory or through the Start menu (Windows) or terminal (Linux).
- Under Windows, you can find ZED Calibration in the Start menu under the ZED SDK folder. You can also run it from the command line by navigating to the ZED SDK installation directory:
C:\Program Files (x86)\ZED SDK\tools\ZED Calibration.exe - Under Ubuntu, you can run ZED Calibration from the terminal by typing
ZED_Calibrationor by navigating to the ZED SDK installation directory:/usr/local/zed/tools/ZED_Calibration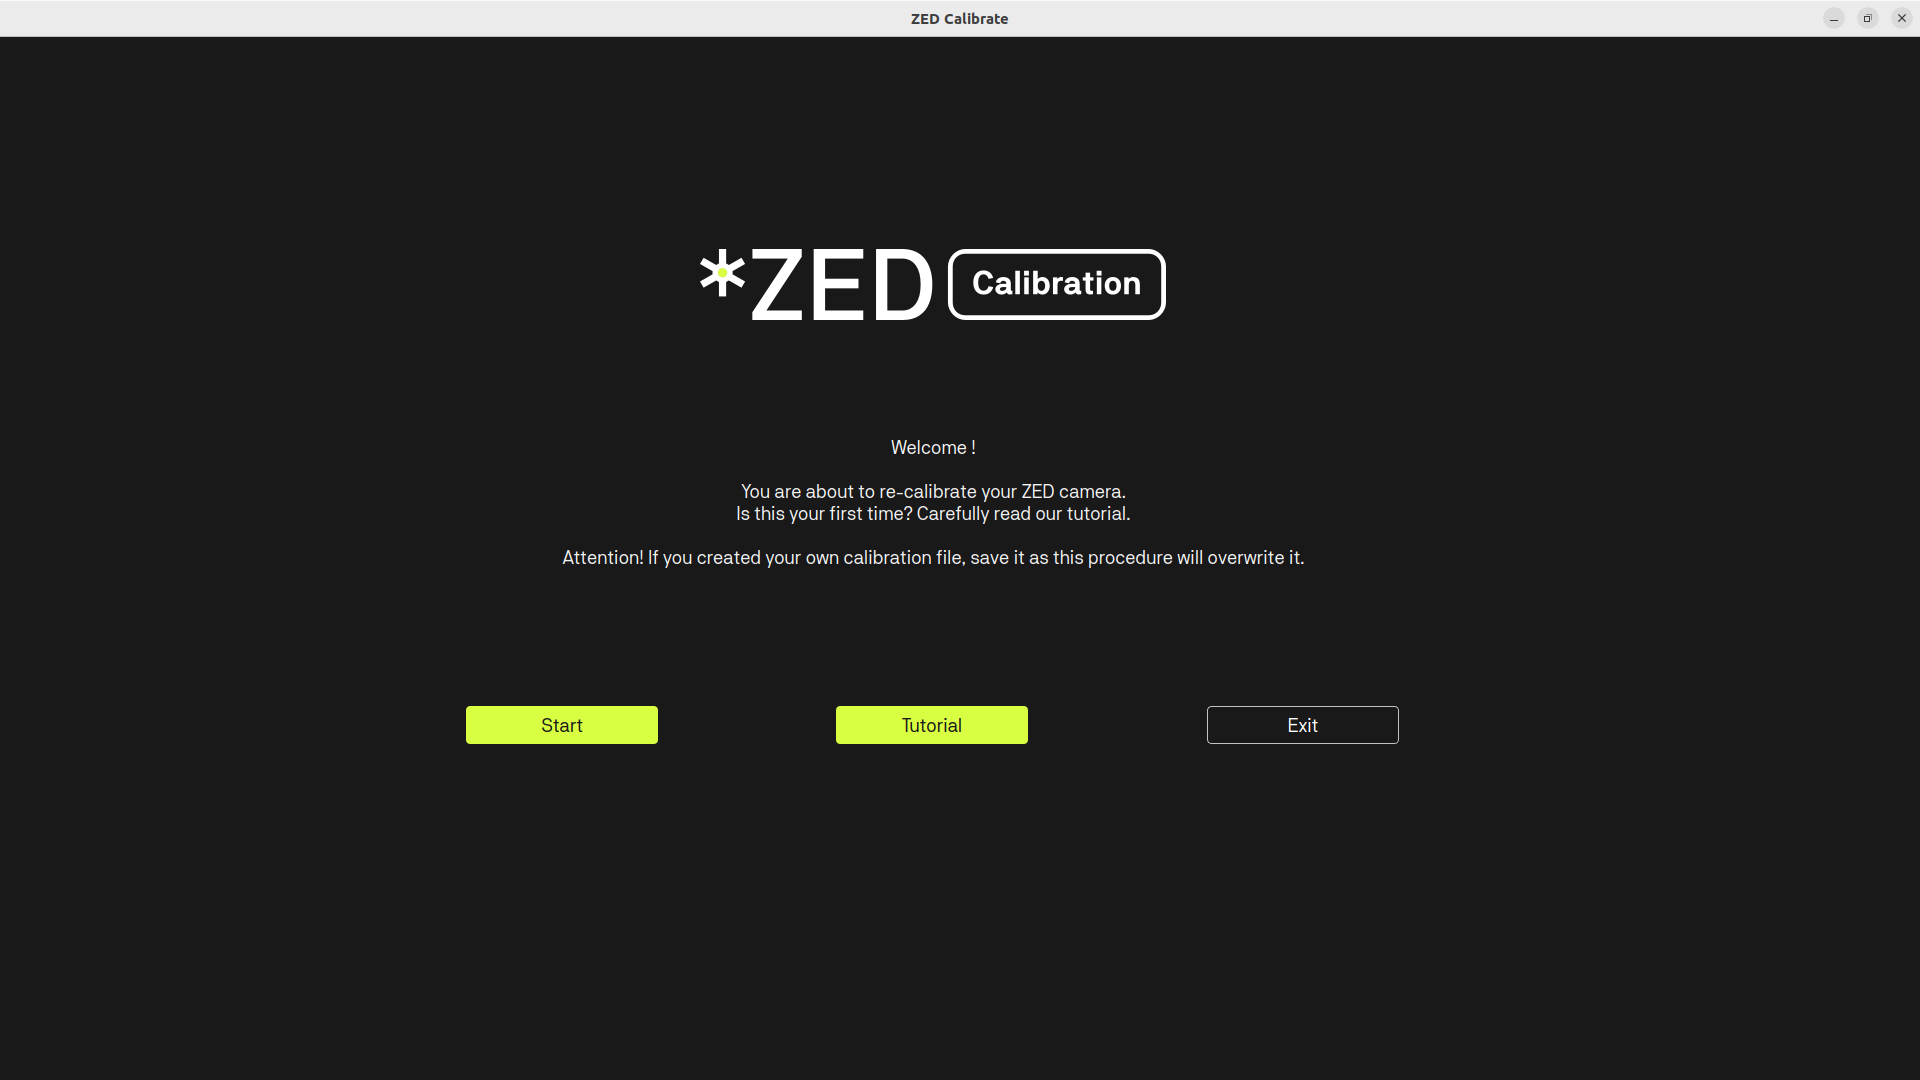
- Under Windows, you can find ZED Calibration in the Start menu under the ZED SDK folder. You can also run it from the command line by navigating to the ZED SDK installation directory:
-
[optional] Follow the Tutorial: Click on the Tutorial button to open a 7-step guide that will help you through the calibration process. This is especially useful if you are new to this tool. You will learn how to move the camera and monitor the visual feedback to ensure proper calibration.
-
Start Calibration: Click on the Start button to begin the calibration process. The tool will guide you through the steps, including moving the camera to capture different angles and positions.
-
Calibrate the camera: Follow the on-screen instructions to adjust the camera position and orientation. The tool will provide visual feedback to help you understand how well the calibration is progressing.
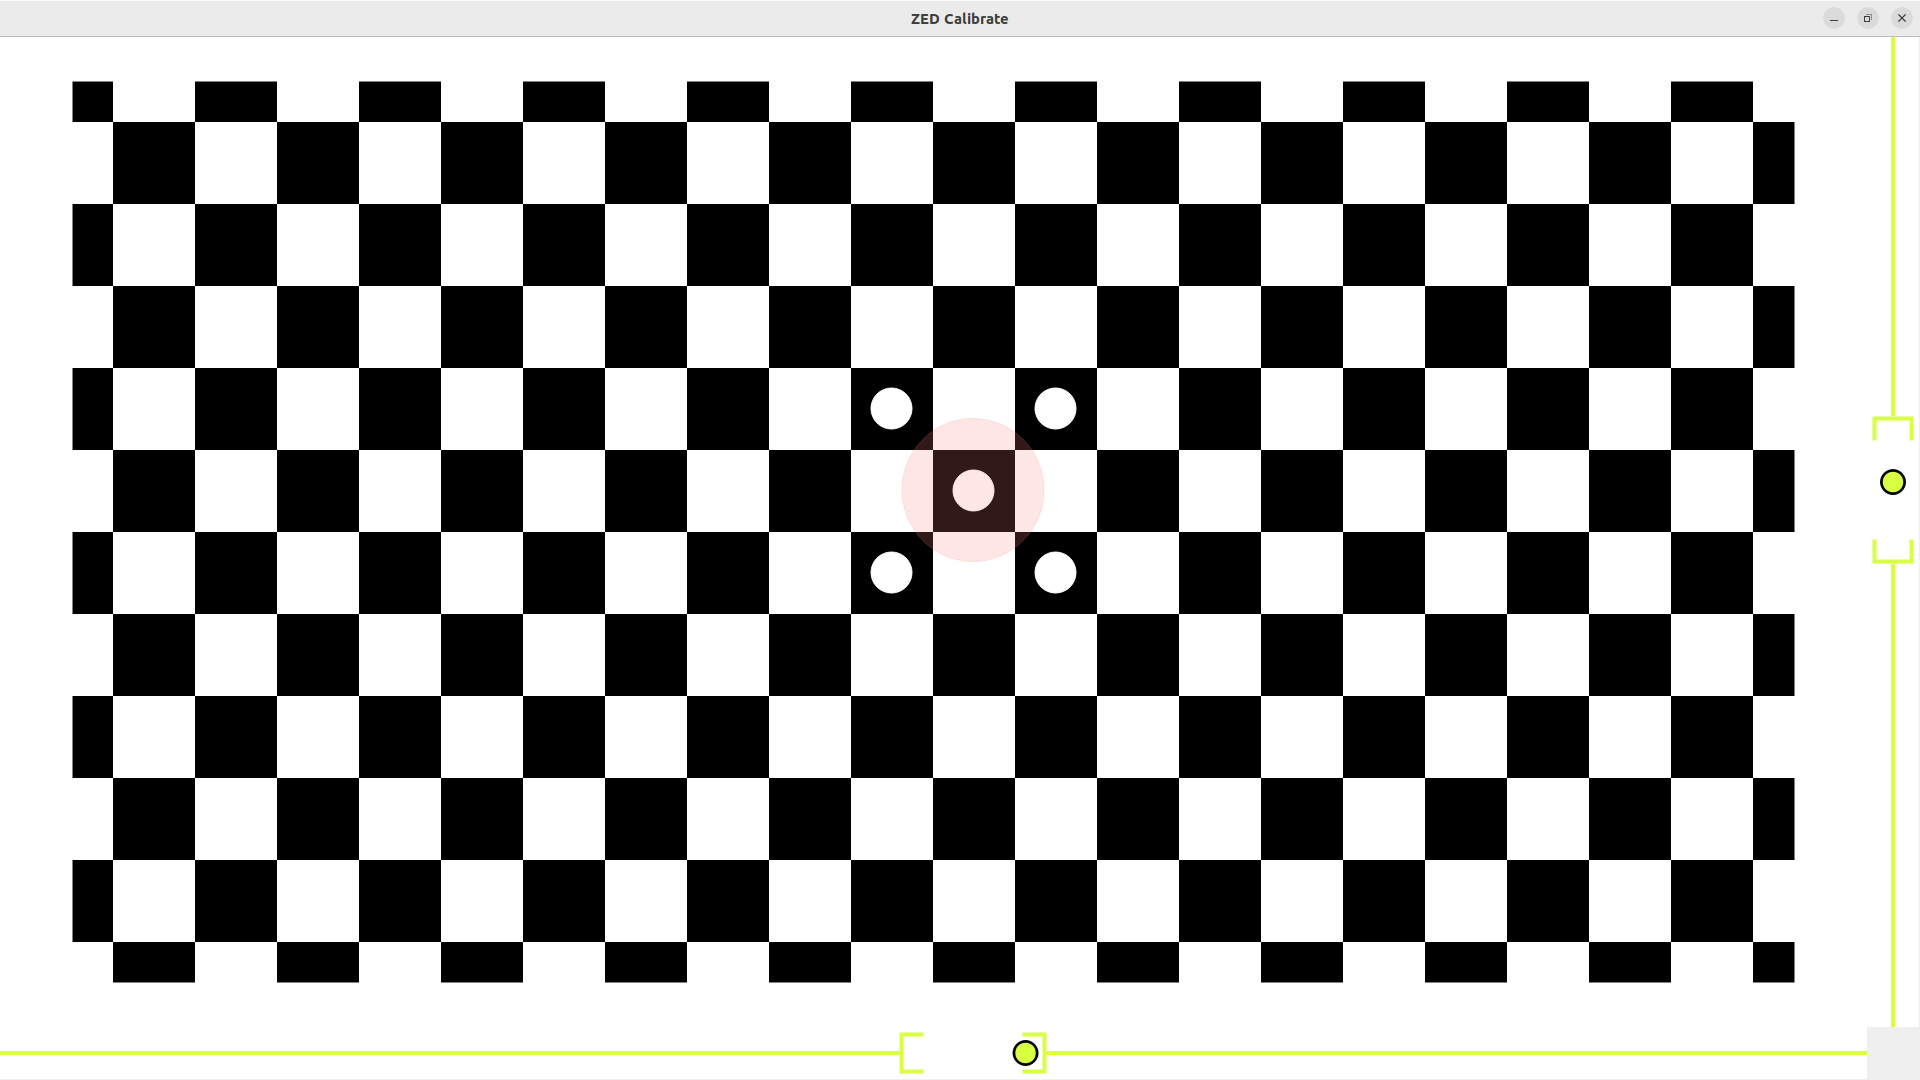
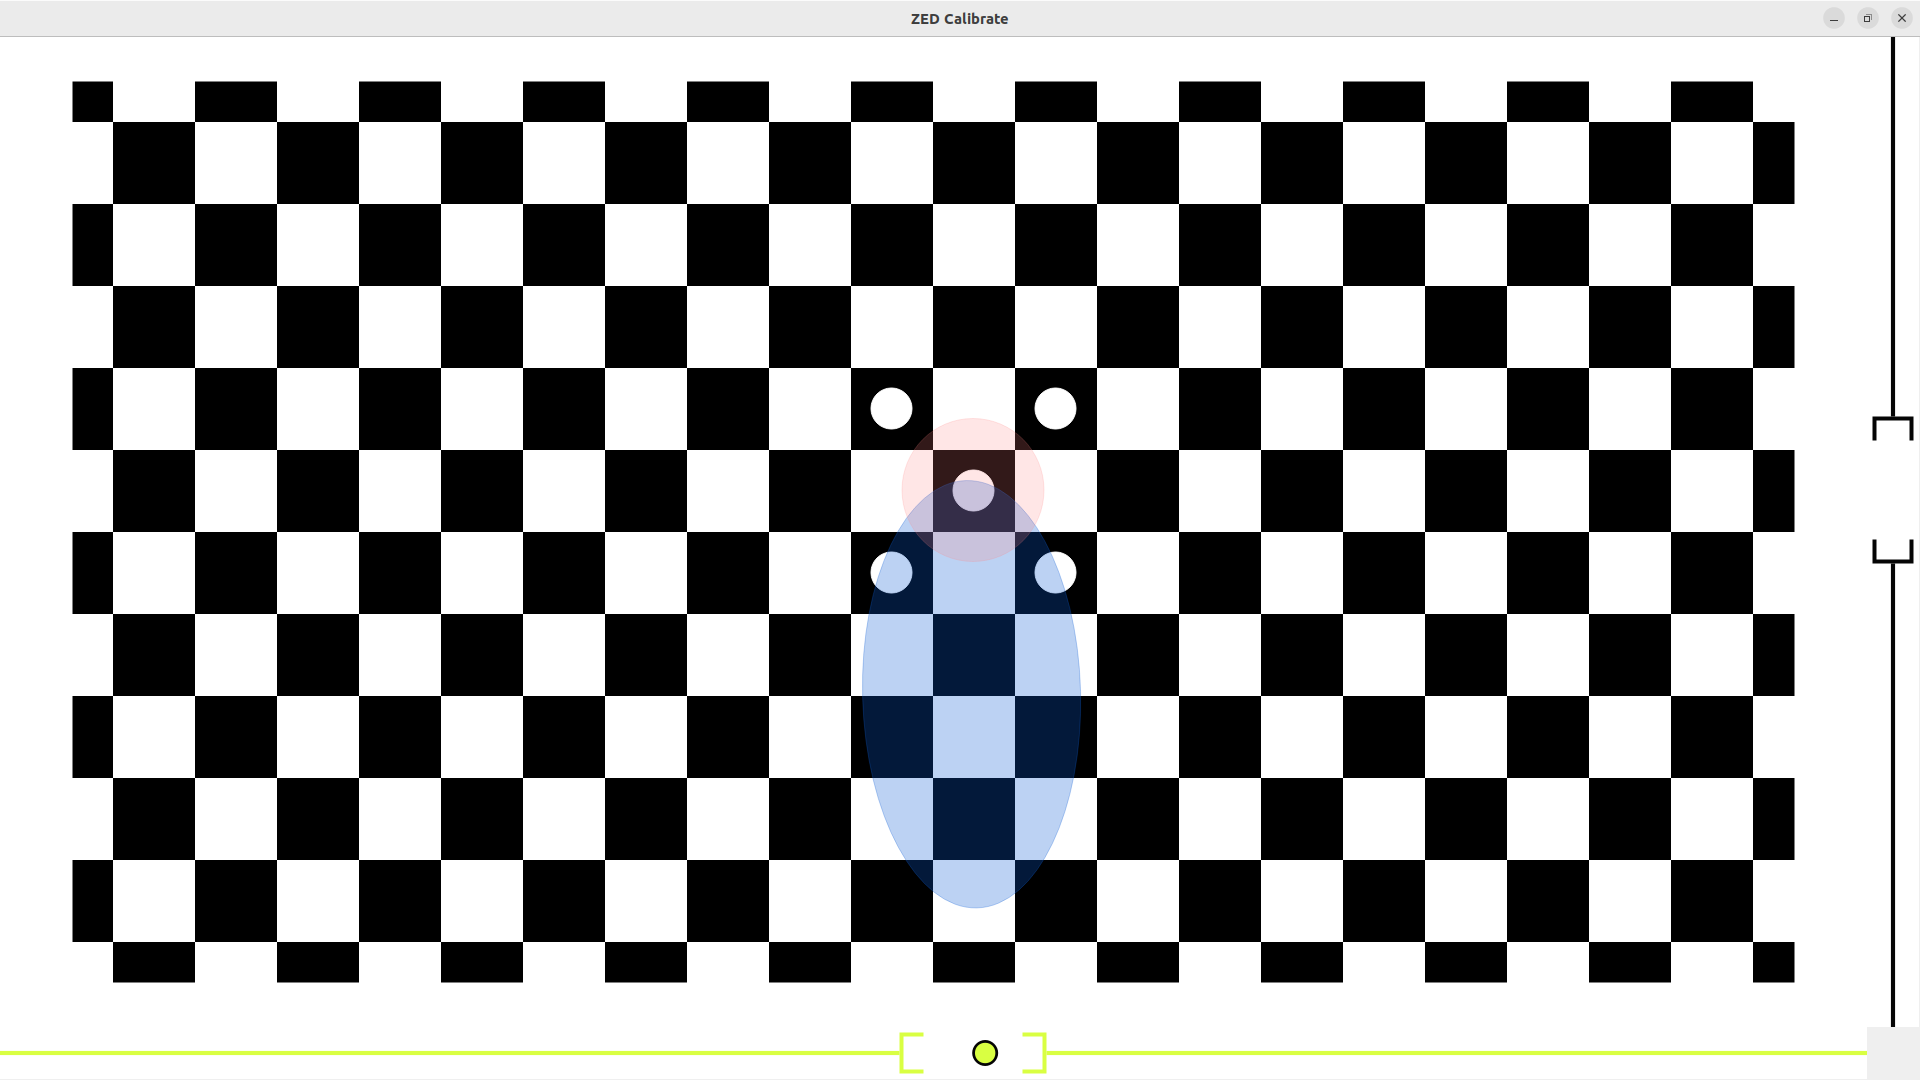
- Move and rotate the camera so that the blue circle overlaps perfectly with each red circle that appears, matching it in size, form, and position. Think of the blue circle as a dynamic light spot whose size and shape change depending on the camera’s distance and angle relative to the screen. Aim to align the circles as closely as possible for optimal calibration accuracy.
- Pay attention to the instruction text that may appear at the top of the screen. These messages provide real-time guidance on how to move and position the camera for optimal calibration.
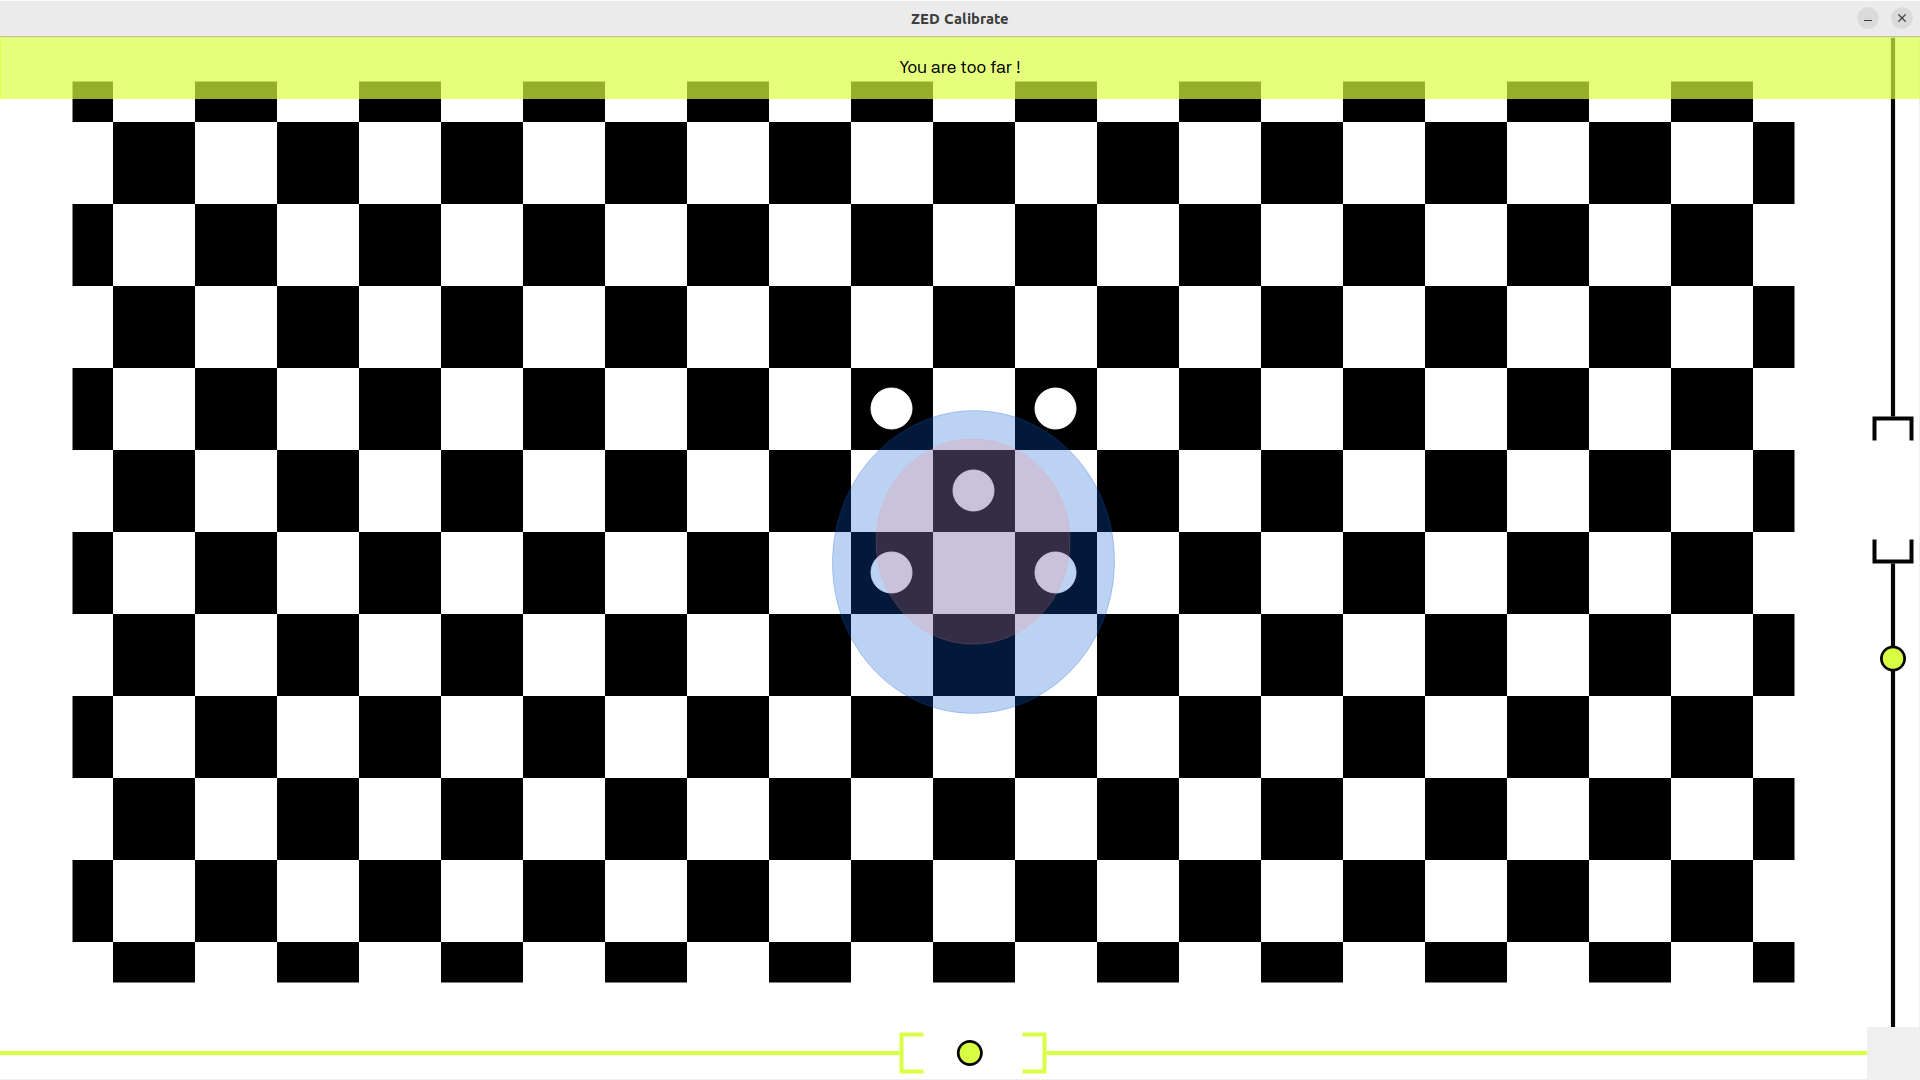
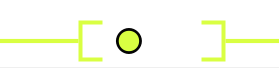
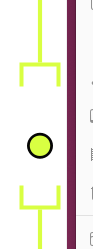
- The side and bottom indicators help you assess the quality of your camera’s pan and tilt alignment during calibration. When the indicator point remains within the central area, your camera is correctly oriented. If the point moves outside this area, adjust the camera’s orientation to bring it back to the center for optimal calibration results.
- Move and rotate the camera so that the blue circle overlaps perfectly with each red circle that appears, matching it in size, form, and position. Think of the blue circle as a dynamic light spot whose size and shape change depending on the camera’s distance and angle relative to the screen. Aim to align the circles as closely as possible for optimal calibration accuracy.
-
Finalize Calibration: Once you have completed the calibration steps, click on the Exit button to save the new calibration parameters by overwriting the factory
SNxxxxxxx.conffile. You can also choose to reset the calibration to factory settings if needed by using ZED Explorer.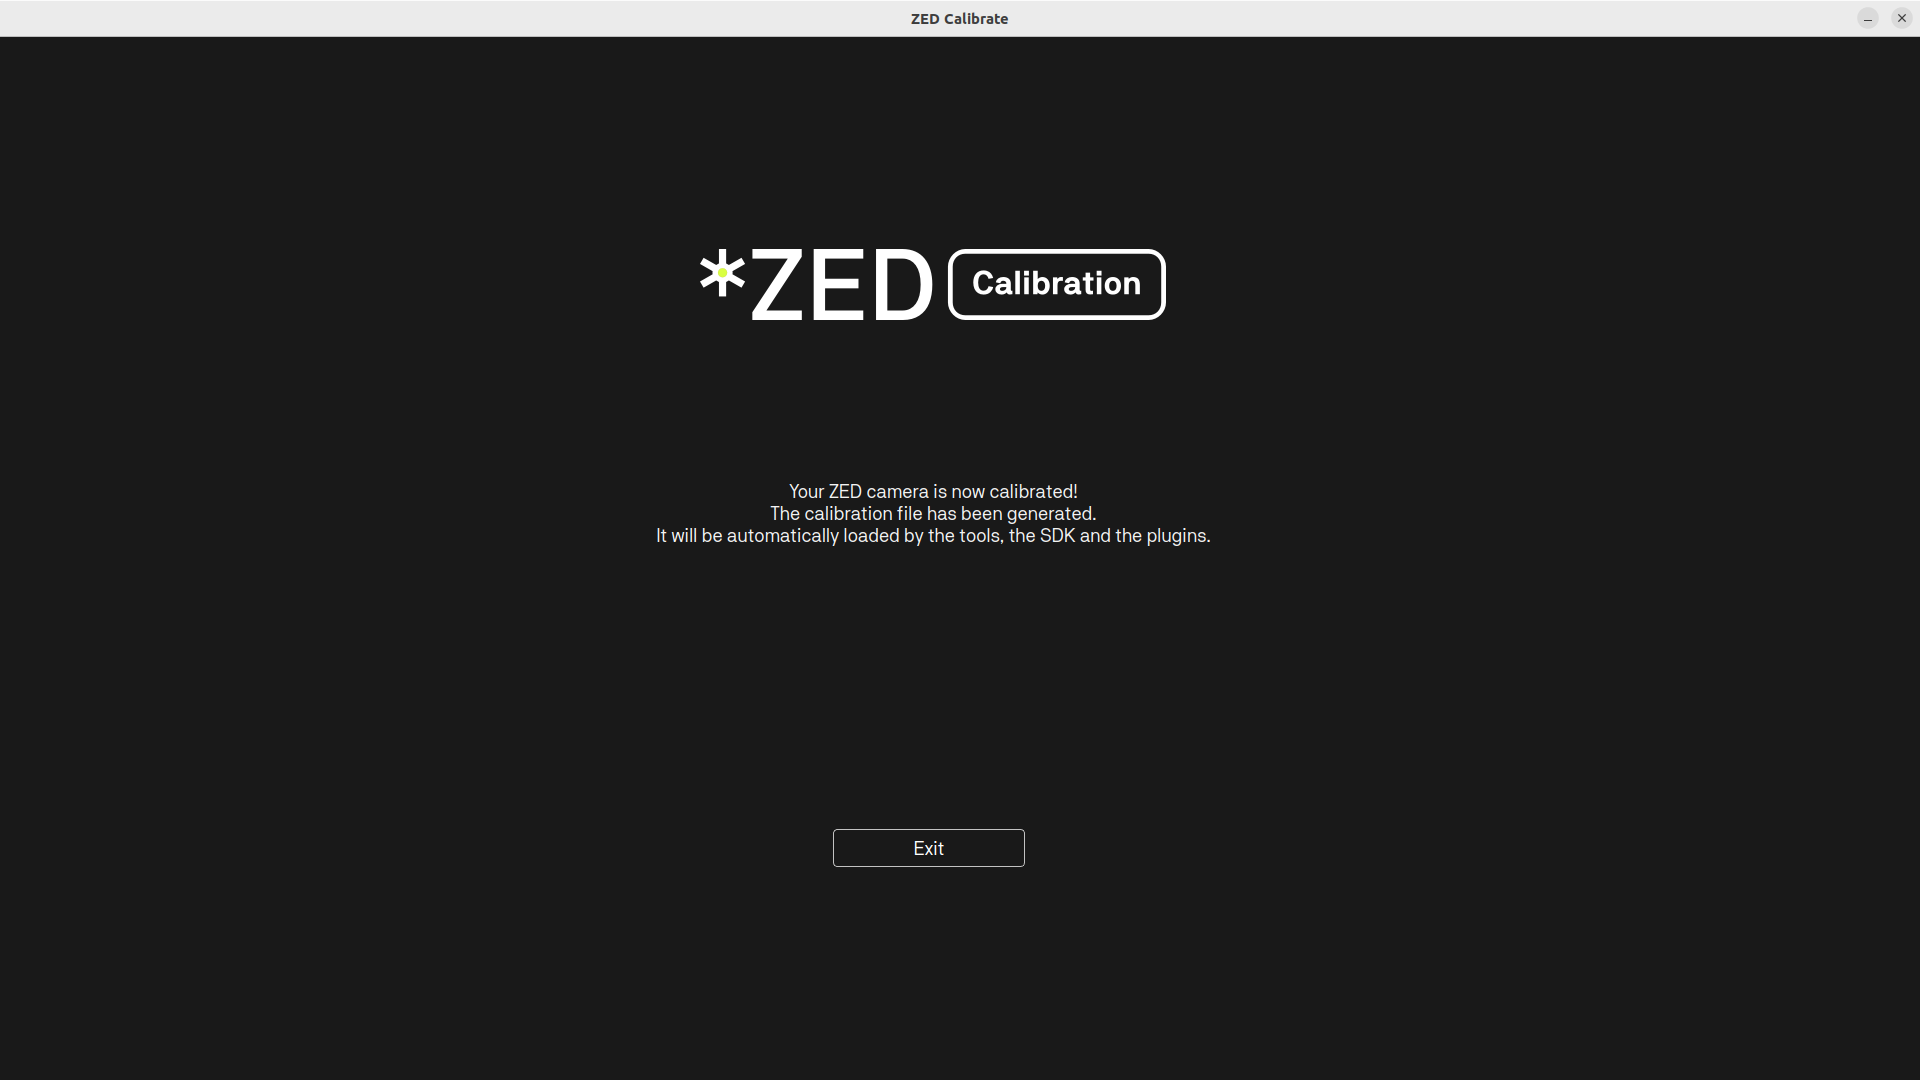

After calibration, you can use the ZED Depth Viewer tool to evaluate the quality of the images, depth maps, and point clouds produced by the camera. This will help you verify the effectiveness of the calibration adjustments.